Images

My AcuRite Home Weather Station Install

So I’ve been interested in measuring weather conditions for several years now, ever since I got a small Radio Shack outdoor wireless thermometer back in the day. Over the years, I’ve been upgrading them adding a few features each time. This is my latest version. The AcuRite 5 in 1 Professional Weather Center.

There are several variants of this weather station with different sensor and display unit options. The one I have is the Model 02064C. It includes mounting hardware, the outdoor sensor assembly and the indoor display unit.

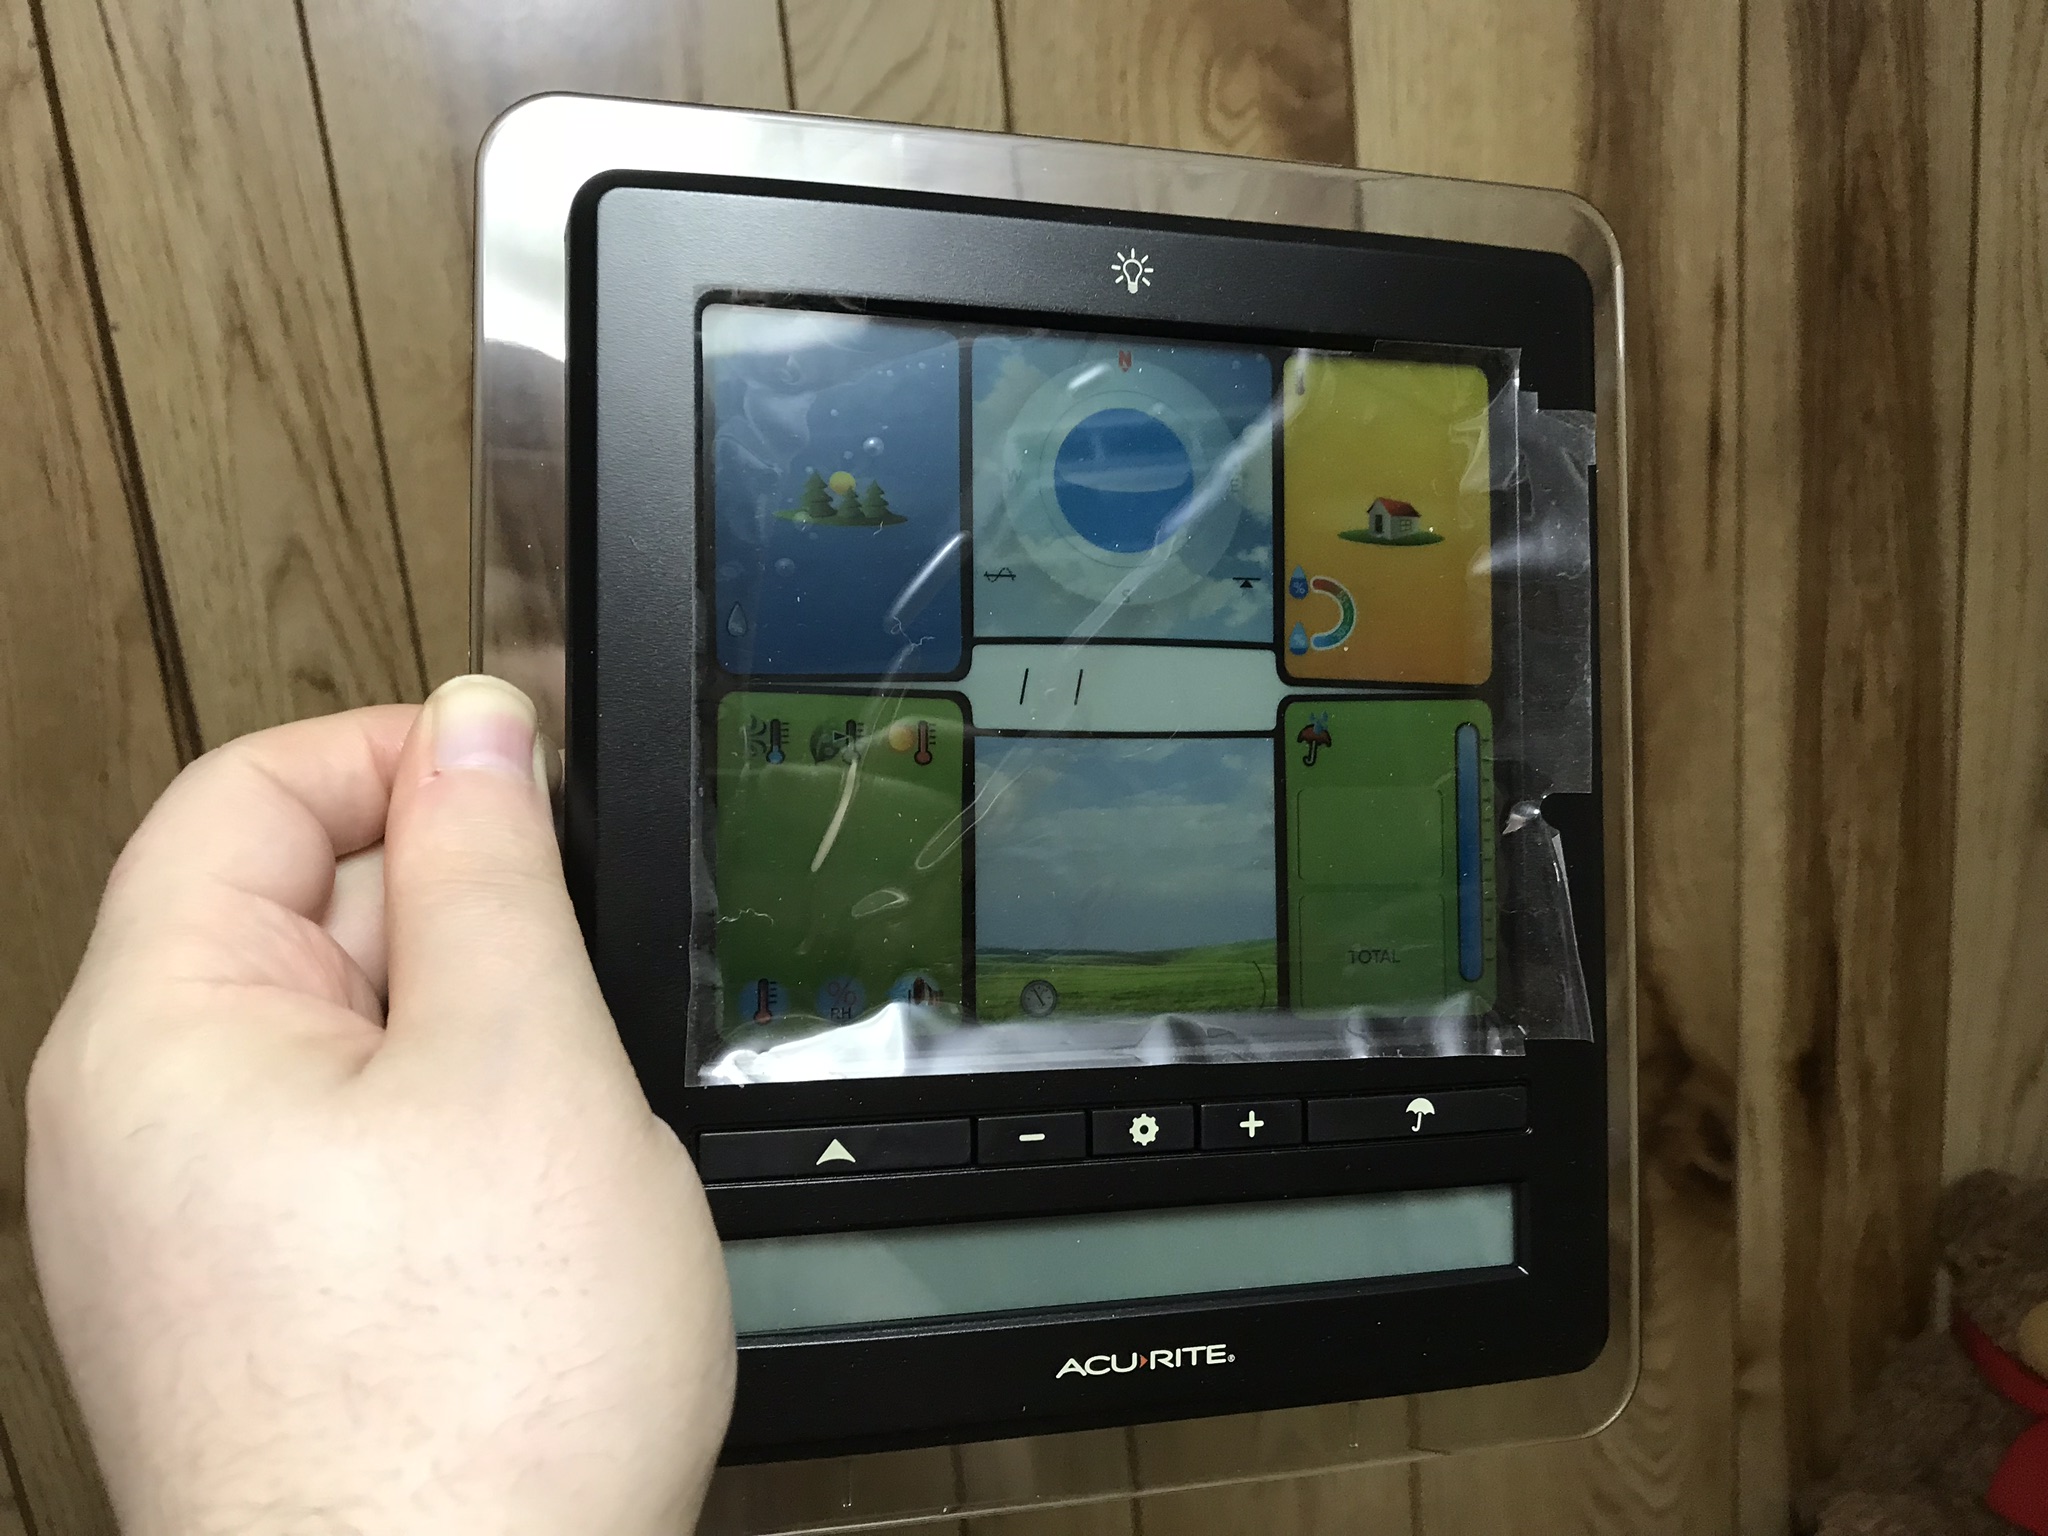
The 5 in 1 Sensor measures outdoor Temperature, Humidity, Wind Speed, Wind Direction, and Rainfall. The Indoor Unit measures indoor Temperature, Humidity, and Barometric Pressure, and displays all the info together. It also can calculate Wind Chill, Heat Index, and stuff like that. On the bottom is a text display that cycles through various information such as moon phase, high temp of the day, etc.

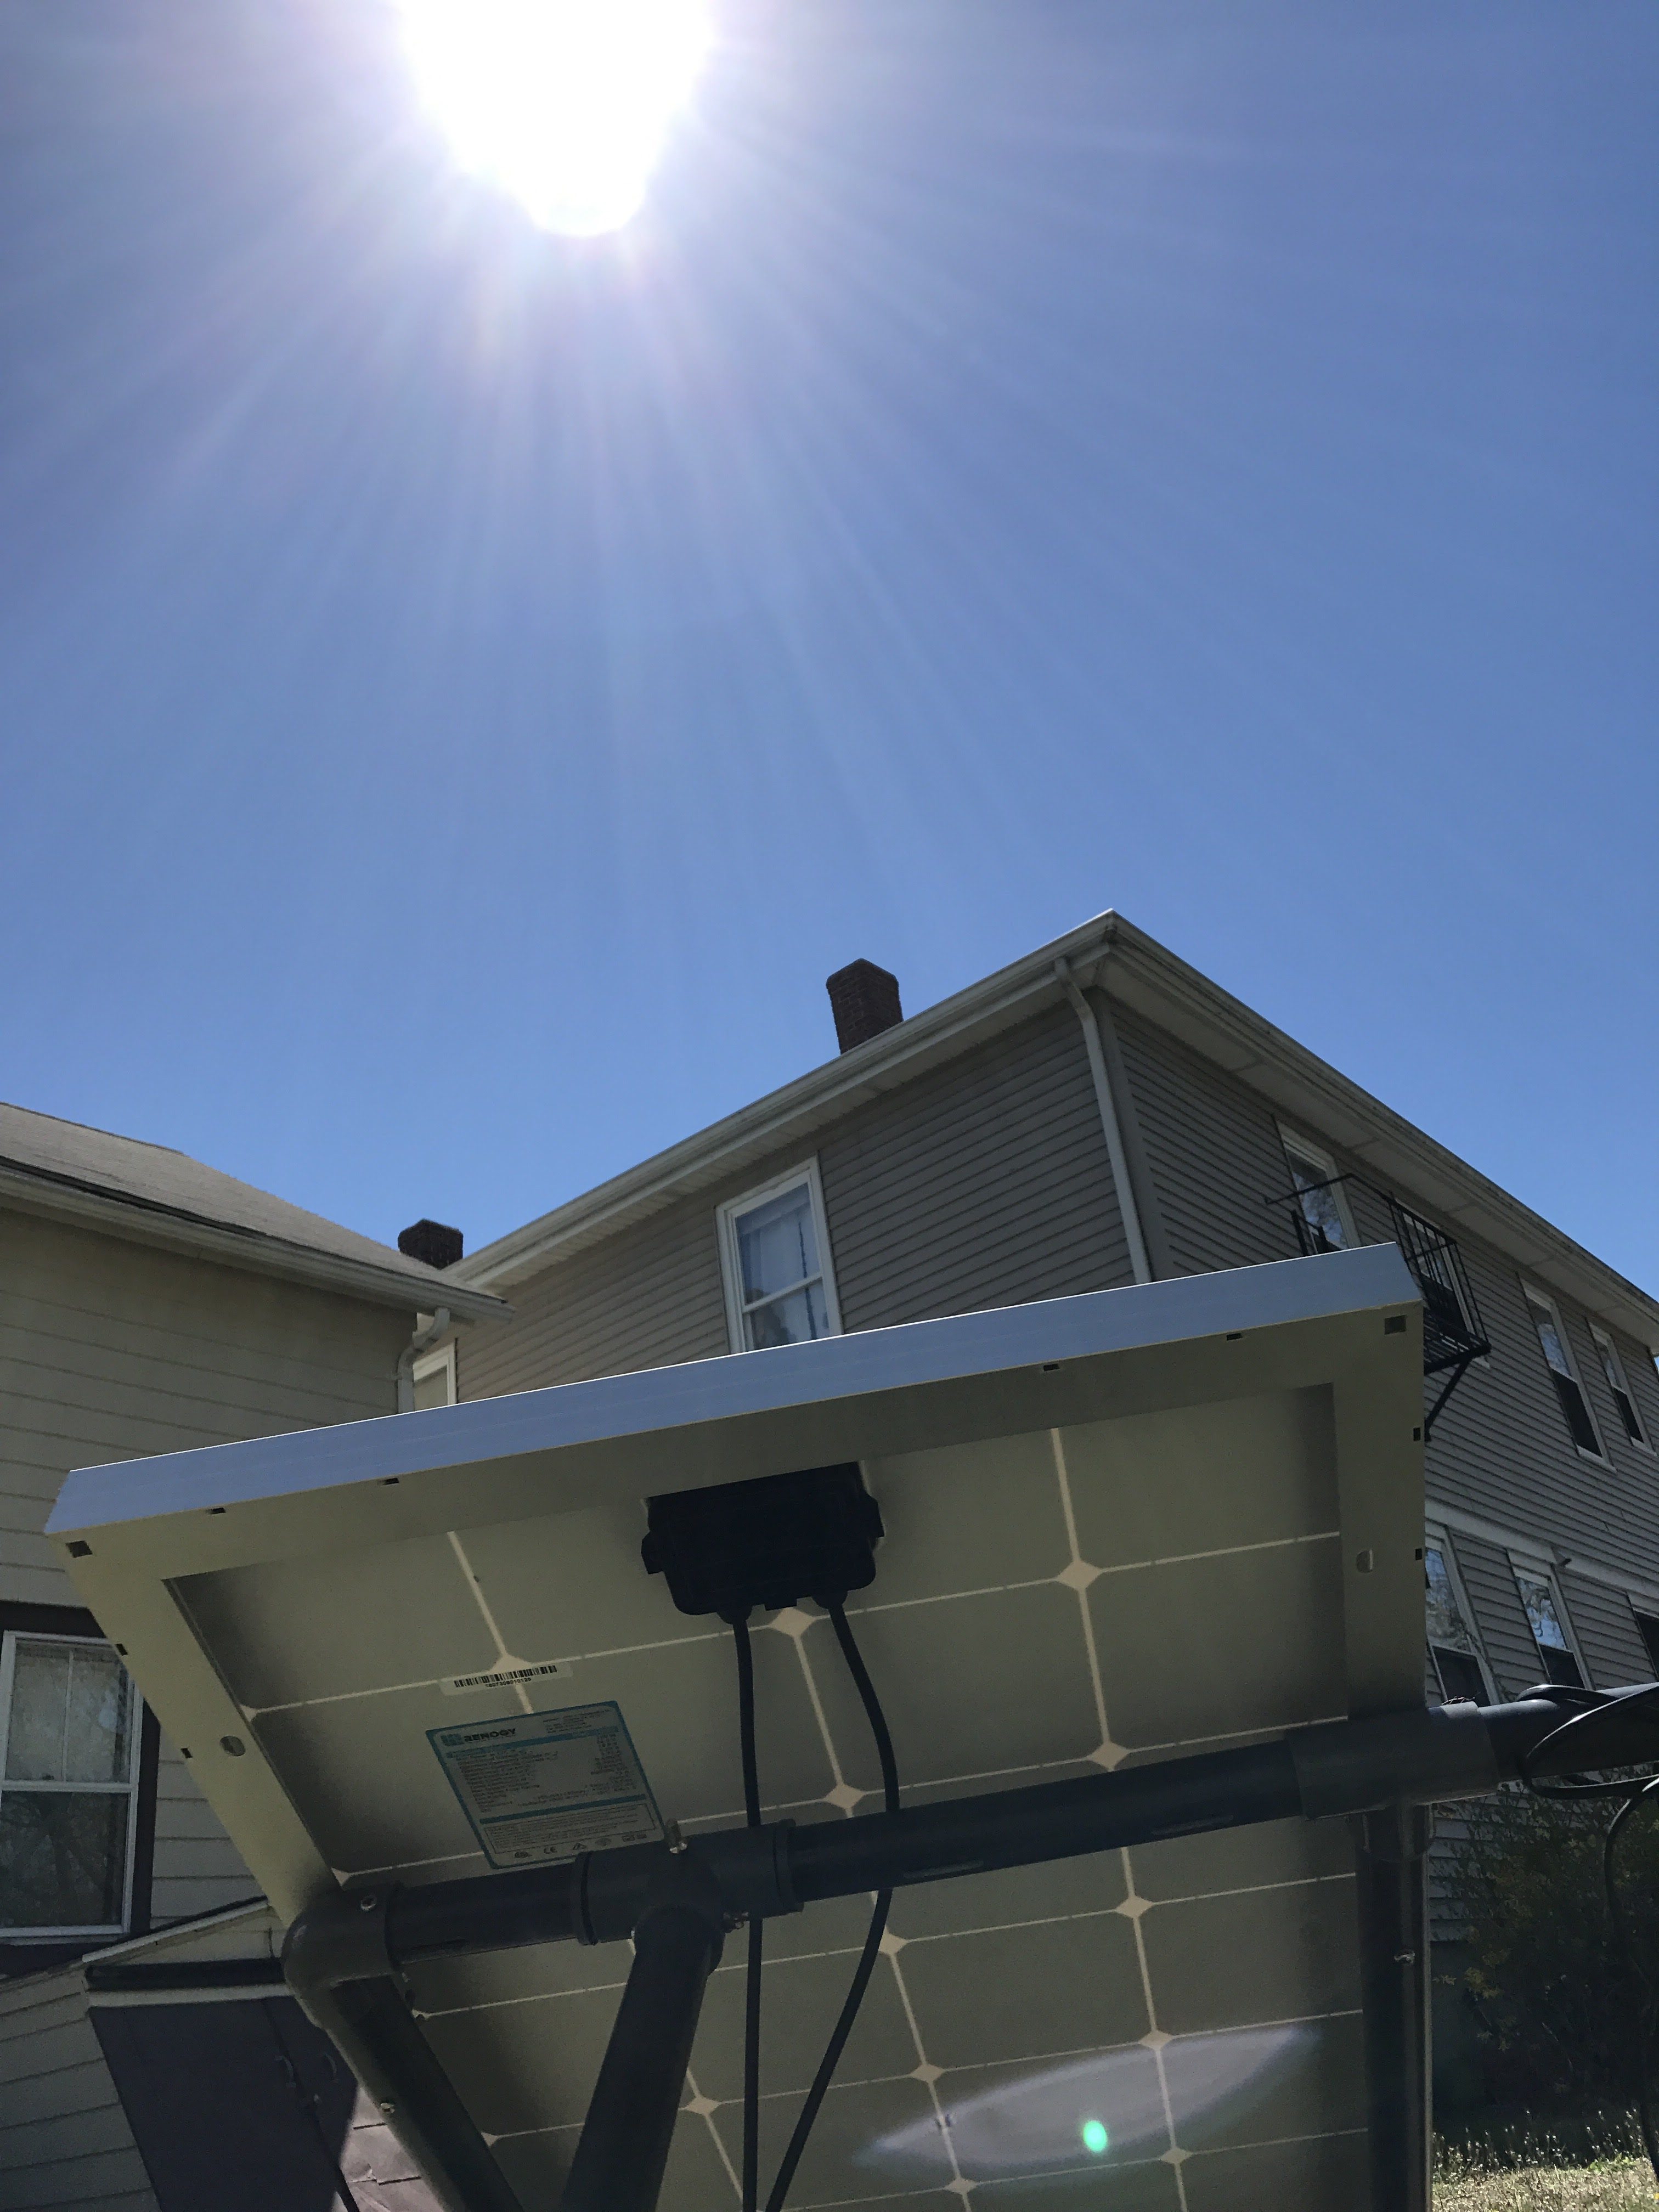
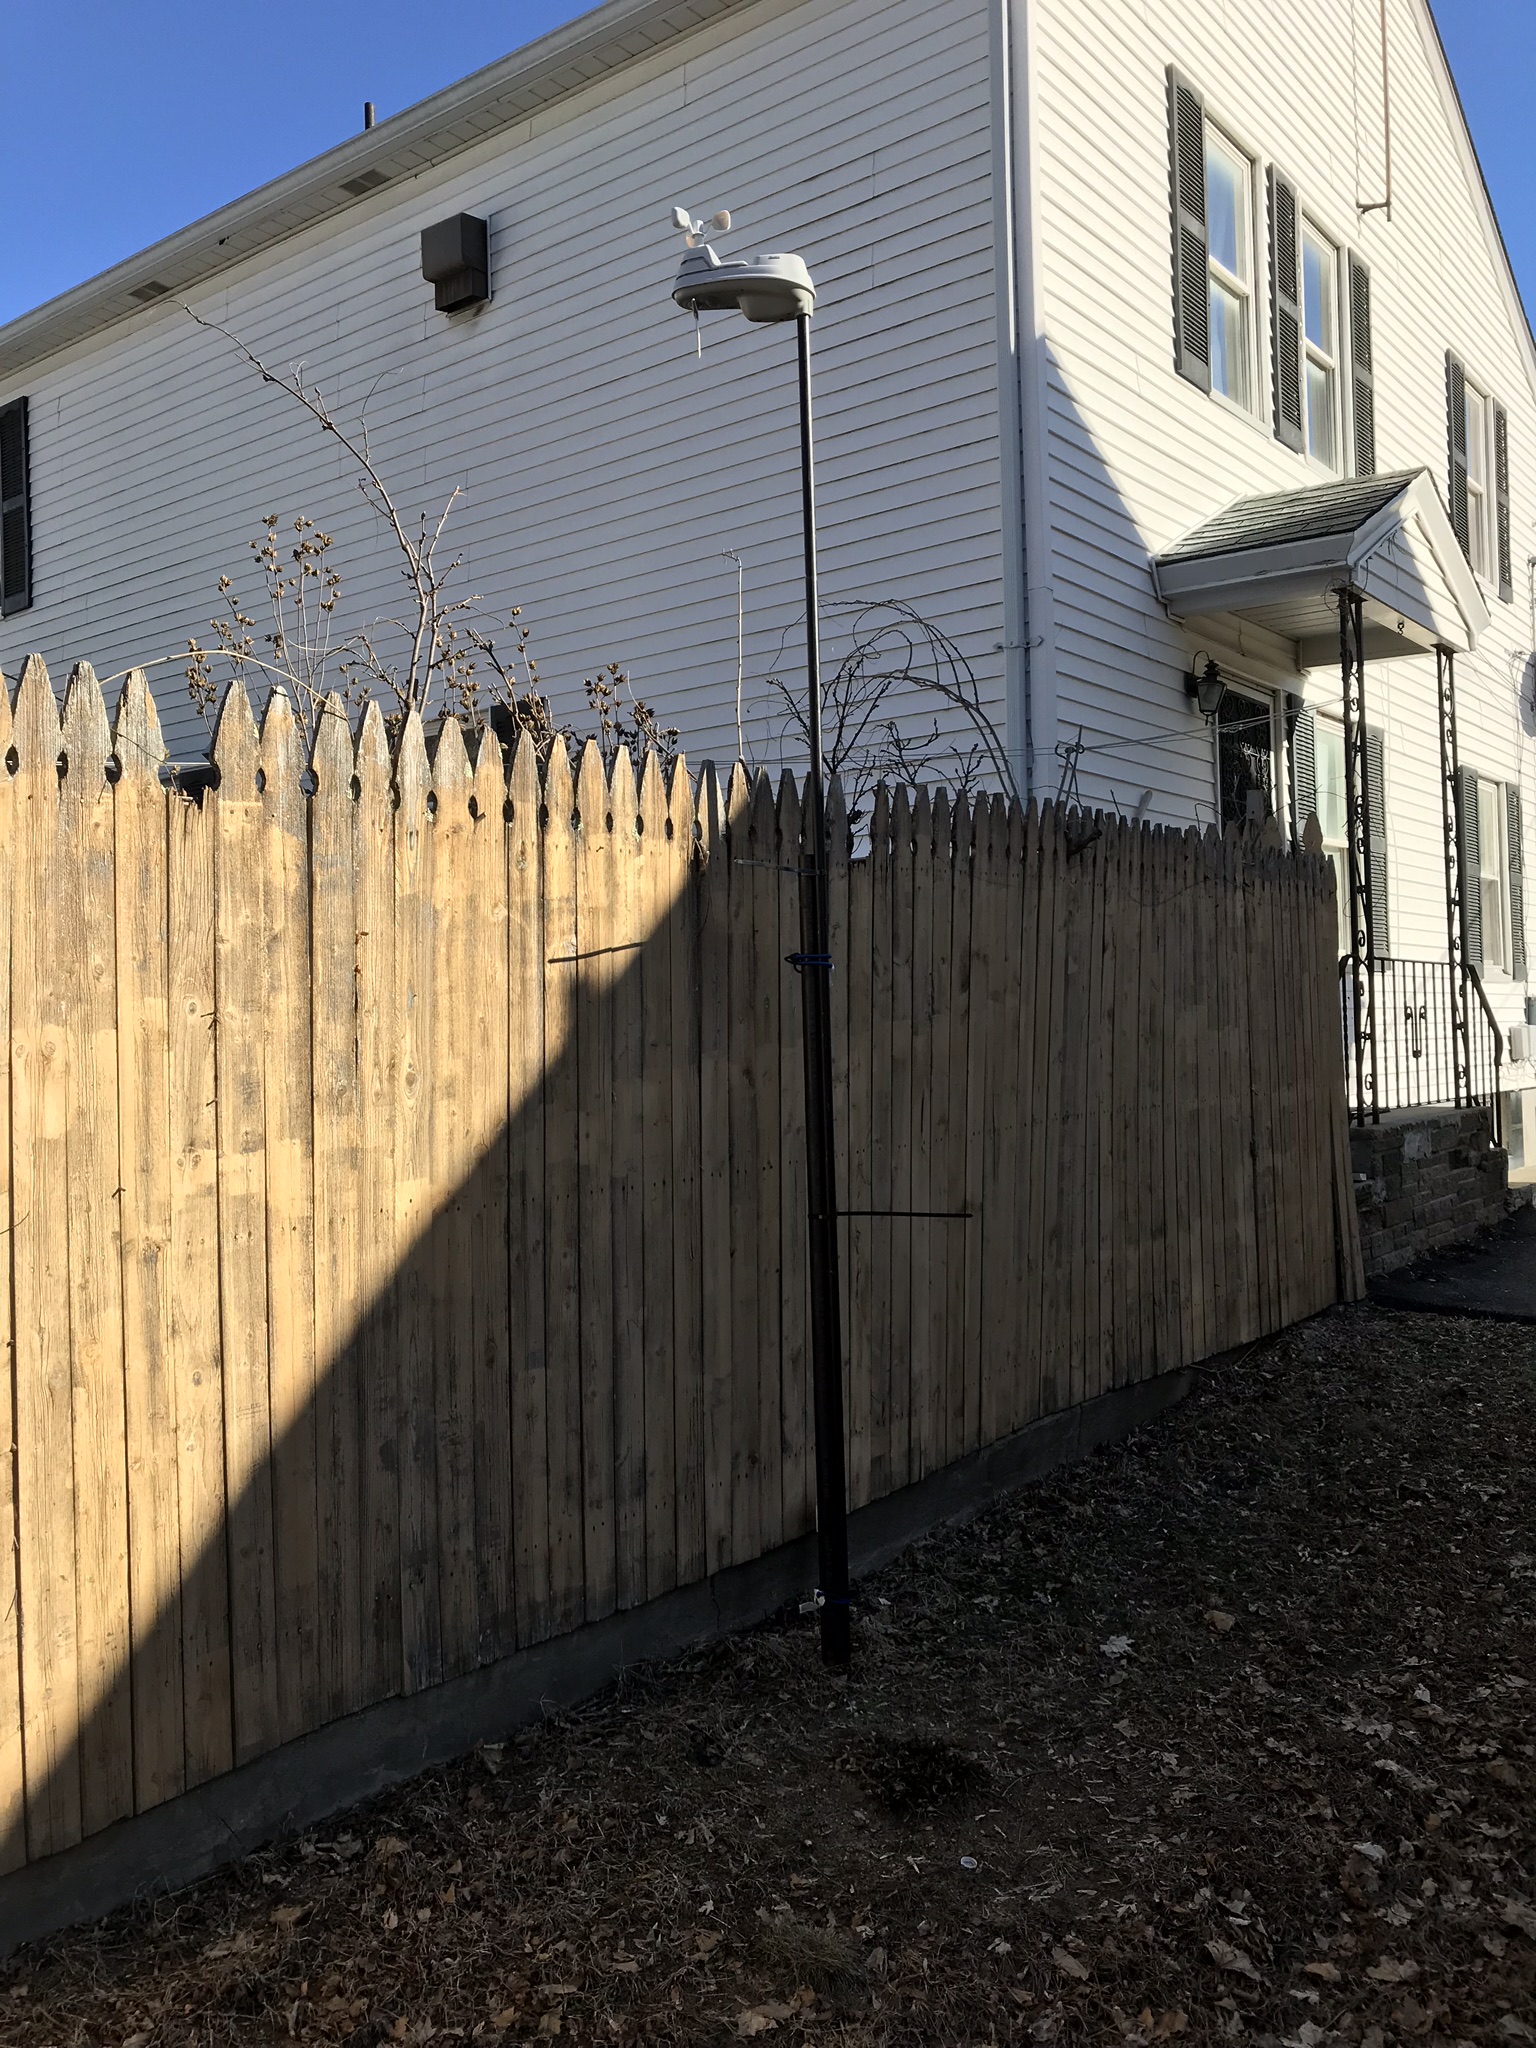
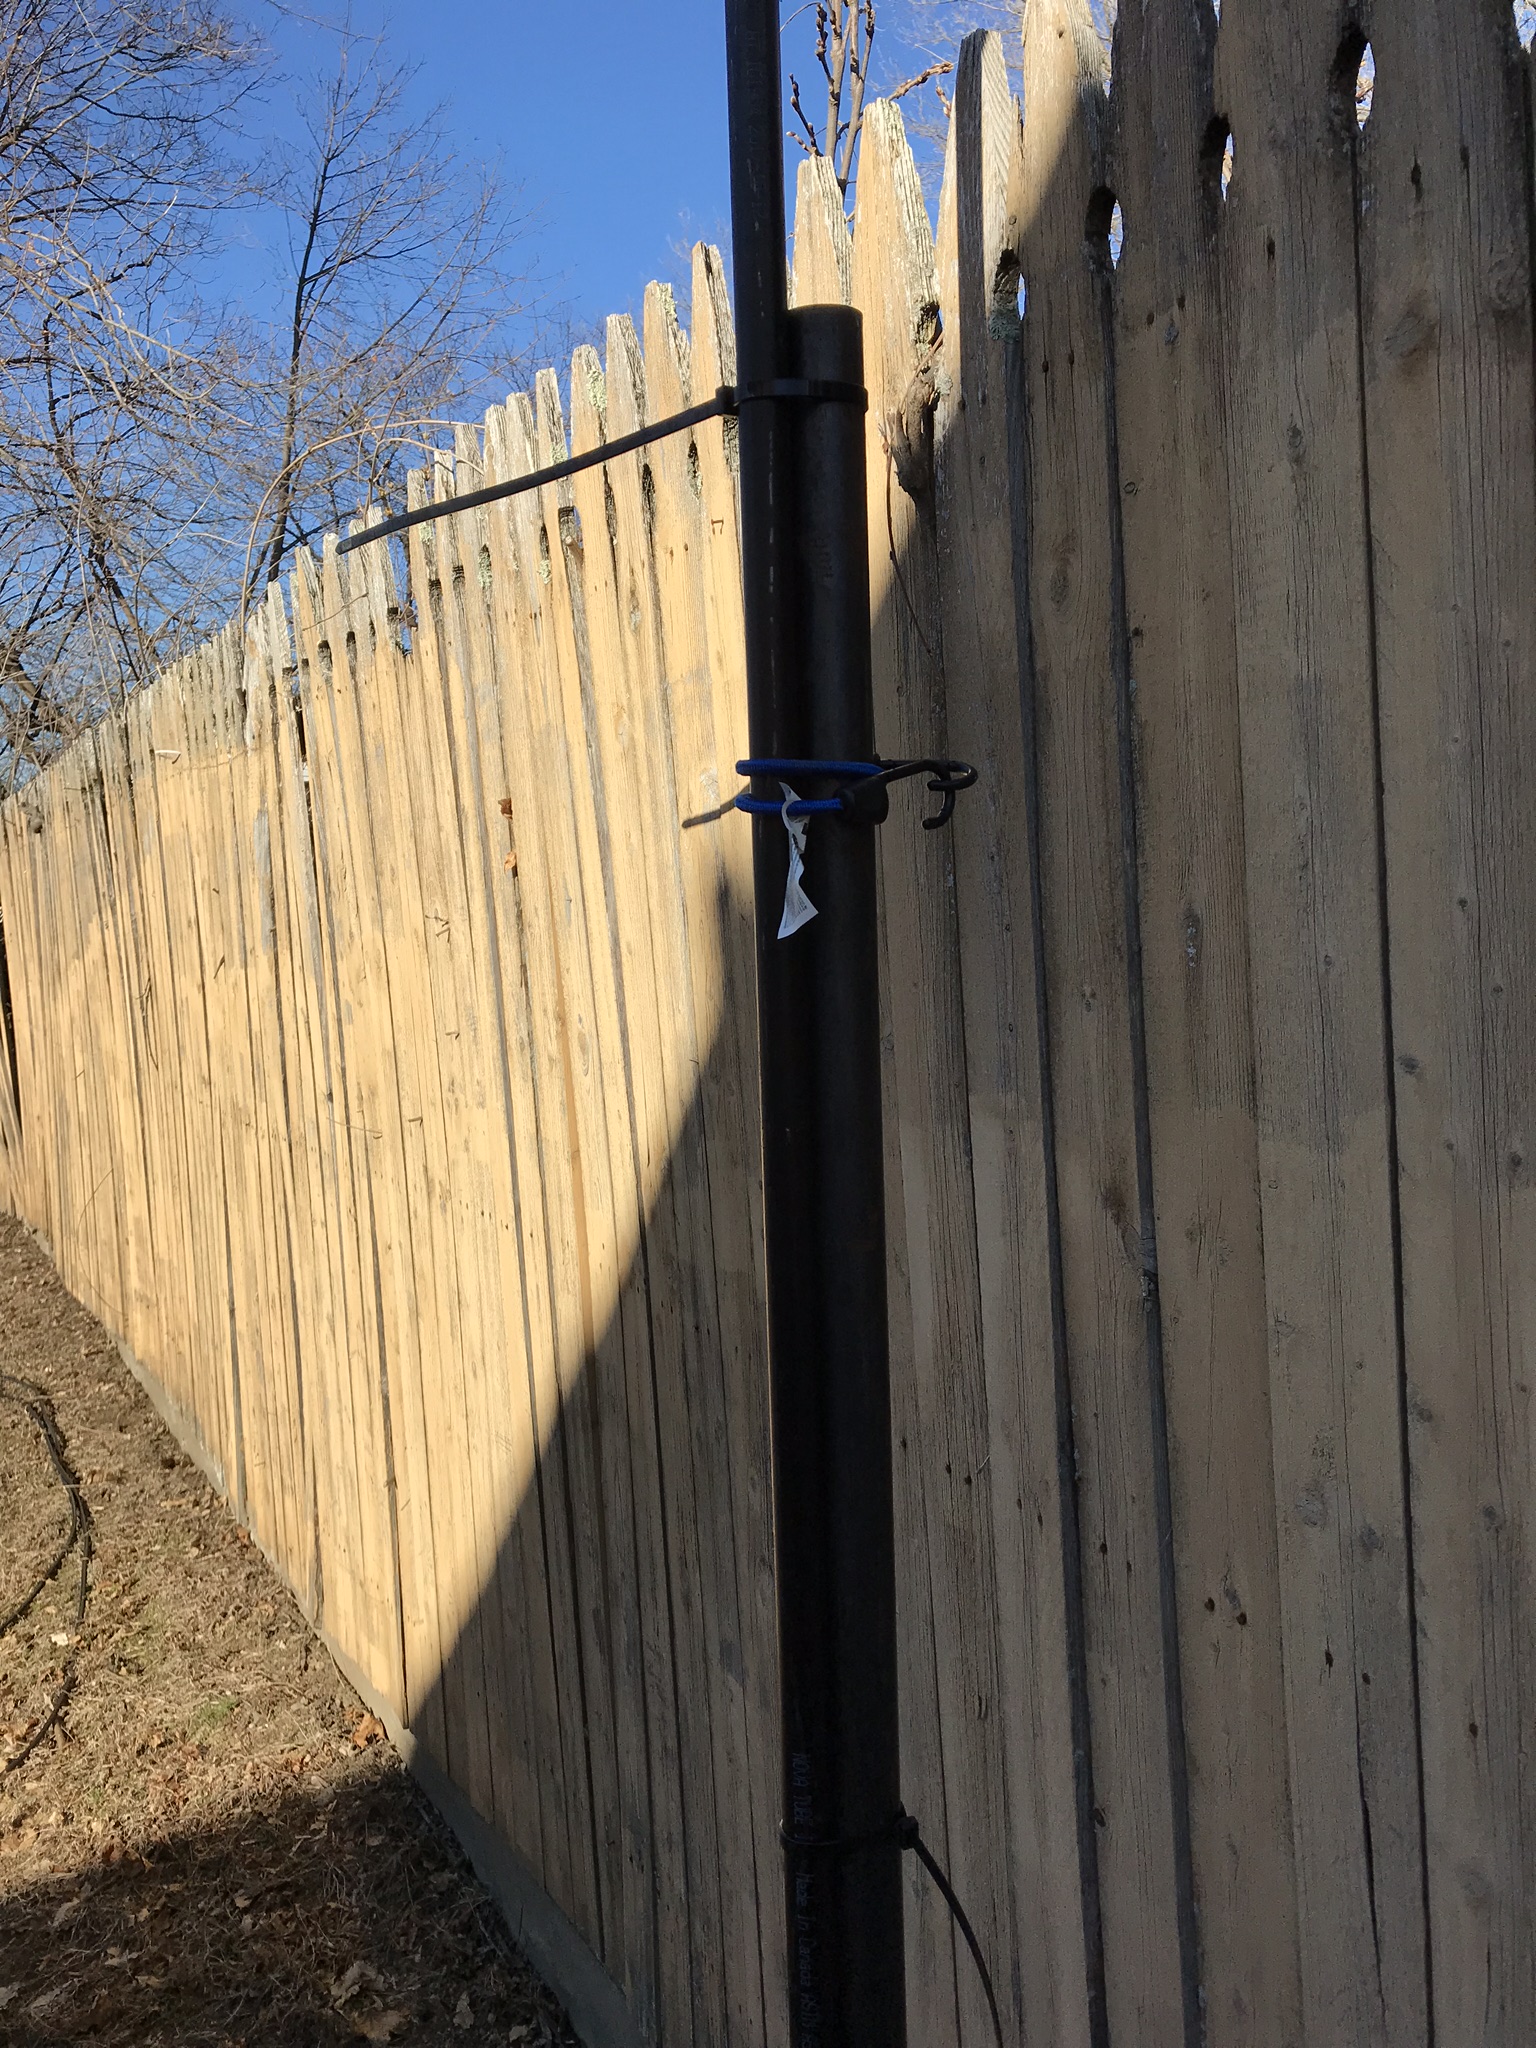
For mounting the outdoor sensor, the manual recommends an open area free of obstructions and at least 5 feet off the ground. Ideally it should be above any buildings and such. But I live in the city so the best I could do is along the backyard fence. I used an existing pole that was cemented into the ground for an old satellite dish as a base, and strapped on a 10 foot steel pipe that would fit the sensor mounting hole using wireties and bungie cords. I’ll add some clamps later. Here’s what it looks like mounted outside.

And finally, the indoor display unit all setup and synced to the outdoor sensor.

Finally, here’s a short video of a walkaround of the outdoor install. Seems to be working well so far!

Our custom home security system

We don’t live in the greatest neighborhood and the neighbors have been growing more and more bold in trying to take advantage of us. Ignoring our “No Parking” sign and parking in our driveway; Throwing their own garbage in our trash bins; Letting their dogs shit in our yard and not picking it up, etc etc. So I was able to convince the family that it’d be in our best interest to have cameras that can catch such people in the act. Below you can see the installation process:

The parts we chose were 2 Foscam FI9961EP weatherproof/vandal proof outdoor 1080p cameras with night vision mode. They don’t pan or tilt unfortunately, but those were much more expensive and I couldn’t sell them on that. We also got 2 runs of 100 foot premade ethernet cable to provide the data in/out and the power to the cams on one wire. In the house, they connect into a Power over Ethernet Switch seen here:

My dragon watches over the camera packets to make sure all is safe 😛


The Finished product; wires routed, cameras screwed in and sealed up.

It came out well in the end. The way I have it setup on the foscam cameras, is to send video to an FTP server when they detect motion. I setup an old Mac Mini for the purpose.

Mac Mini 2.0ghz with a 250 GB hard drive running Ubuntu Server and vsftp server


And the end result. Voila!

Sun and Rain

Sunday and Monday my batteries got some much needed juice from the sun. They were down to 12.6 volts or so and actually took both days to reach full. As nice as this 100 watt panel is, when you have 200 Ah worth of battery capacity, charging them up when they have discharged a good amount can take AWHILE with only 4 or 5 amps. A second panel would be nice. A future upgrade someday 😉

Panel soaking up some much needed photons.
A whole 0.41 amps in the middle of the day. 😛

It’s all about the direct sunlight. Even at 1pm and plenty of light to see, the best I could do was 0.5 amps, a fraction of what the panels can produce in full sun. I’m learning alot about energy conservation and taking advantage when there’s a surplus. Also about not leaving stuff on when it’s not being used.

Solar Panel Upgrade Status

So, I’ve been using this 45 Watt solar panel kit from harbor freight for a little while with my ham setup. I picked it up a few years ago for $120 or something. As you can imagine, that’s not a lot of power when running 3 radios at once, especially when transmitting occasionally. The max I ever got out of them was 2.5 amps to my 12v battery bank, which was enough to break even when all radios were on and just idling. So I found an inexpensive way to upgrade. Renogy sells very affordable solar kits, so I picked up a single 100 Watt Monocrystaline panel with a charge controller and the appropriate power cables. Below is the result. The big one on the right is the new panel. I reused the existing PVC frame that the Harbor Freight panels used and left on one of the panels on to act as a counterweight.

Then I have about 55 feet of wire between the panel and my controller/batteries. 20 feet of 10 awg cable that the kit came with, and 35 feet of 18 awg that I had already. The 18 awg defintely needs to be replaced because the voltage drop at 6 amps is REALLY bad, so that will be a future tweak to the setup. Inside I have the charge controller mounted to the wall next to the battery bank which you can see below. The white wire running off to the left goes to my 12v distribution box and to all the radios and stuff.

Next step is to add a fuse between the battery cables and the charger controller for safety. So far it’s working great. The real test will be how I manage through cloudy/rainy weather. More updates to follow later 🙂