Images

Moving And My Ham Radio Hobby

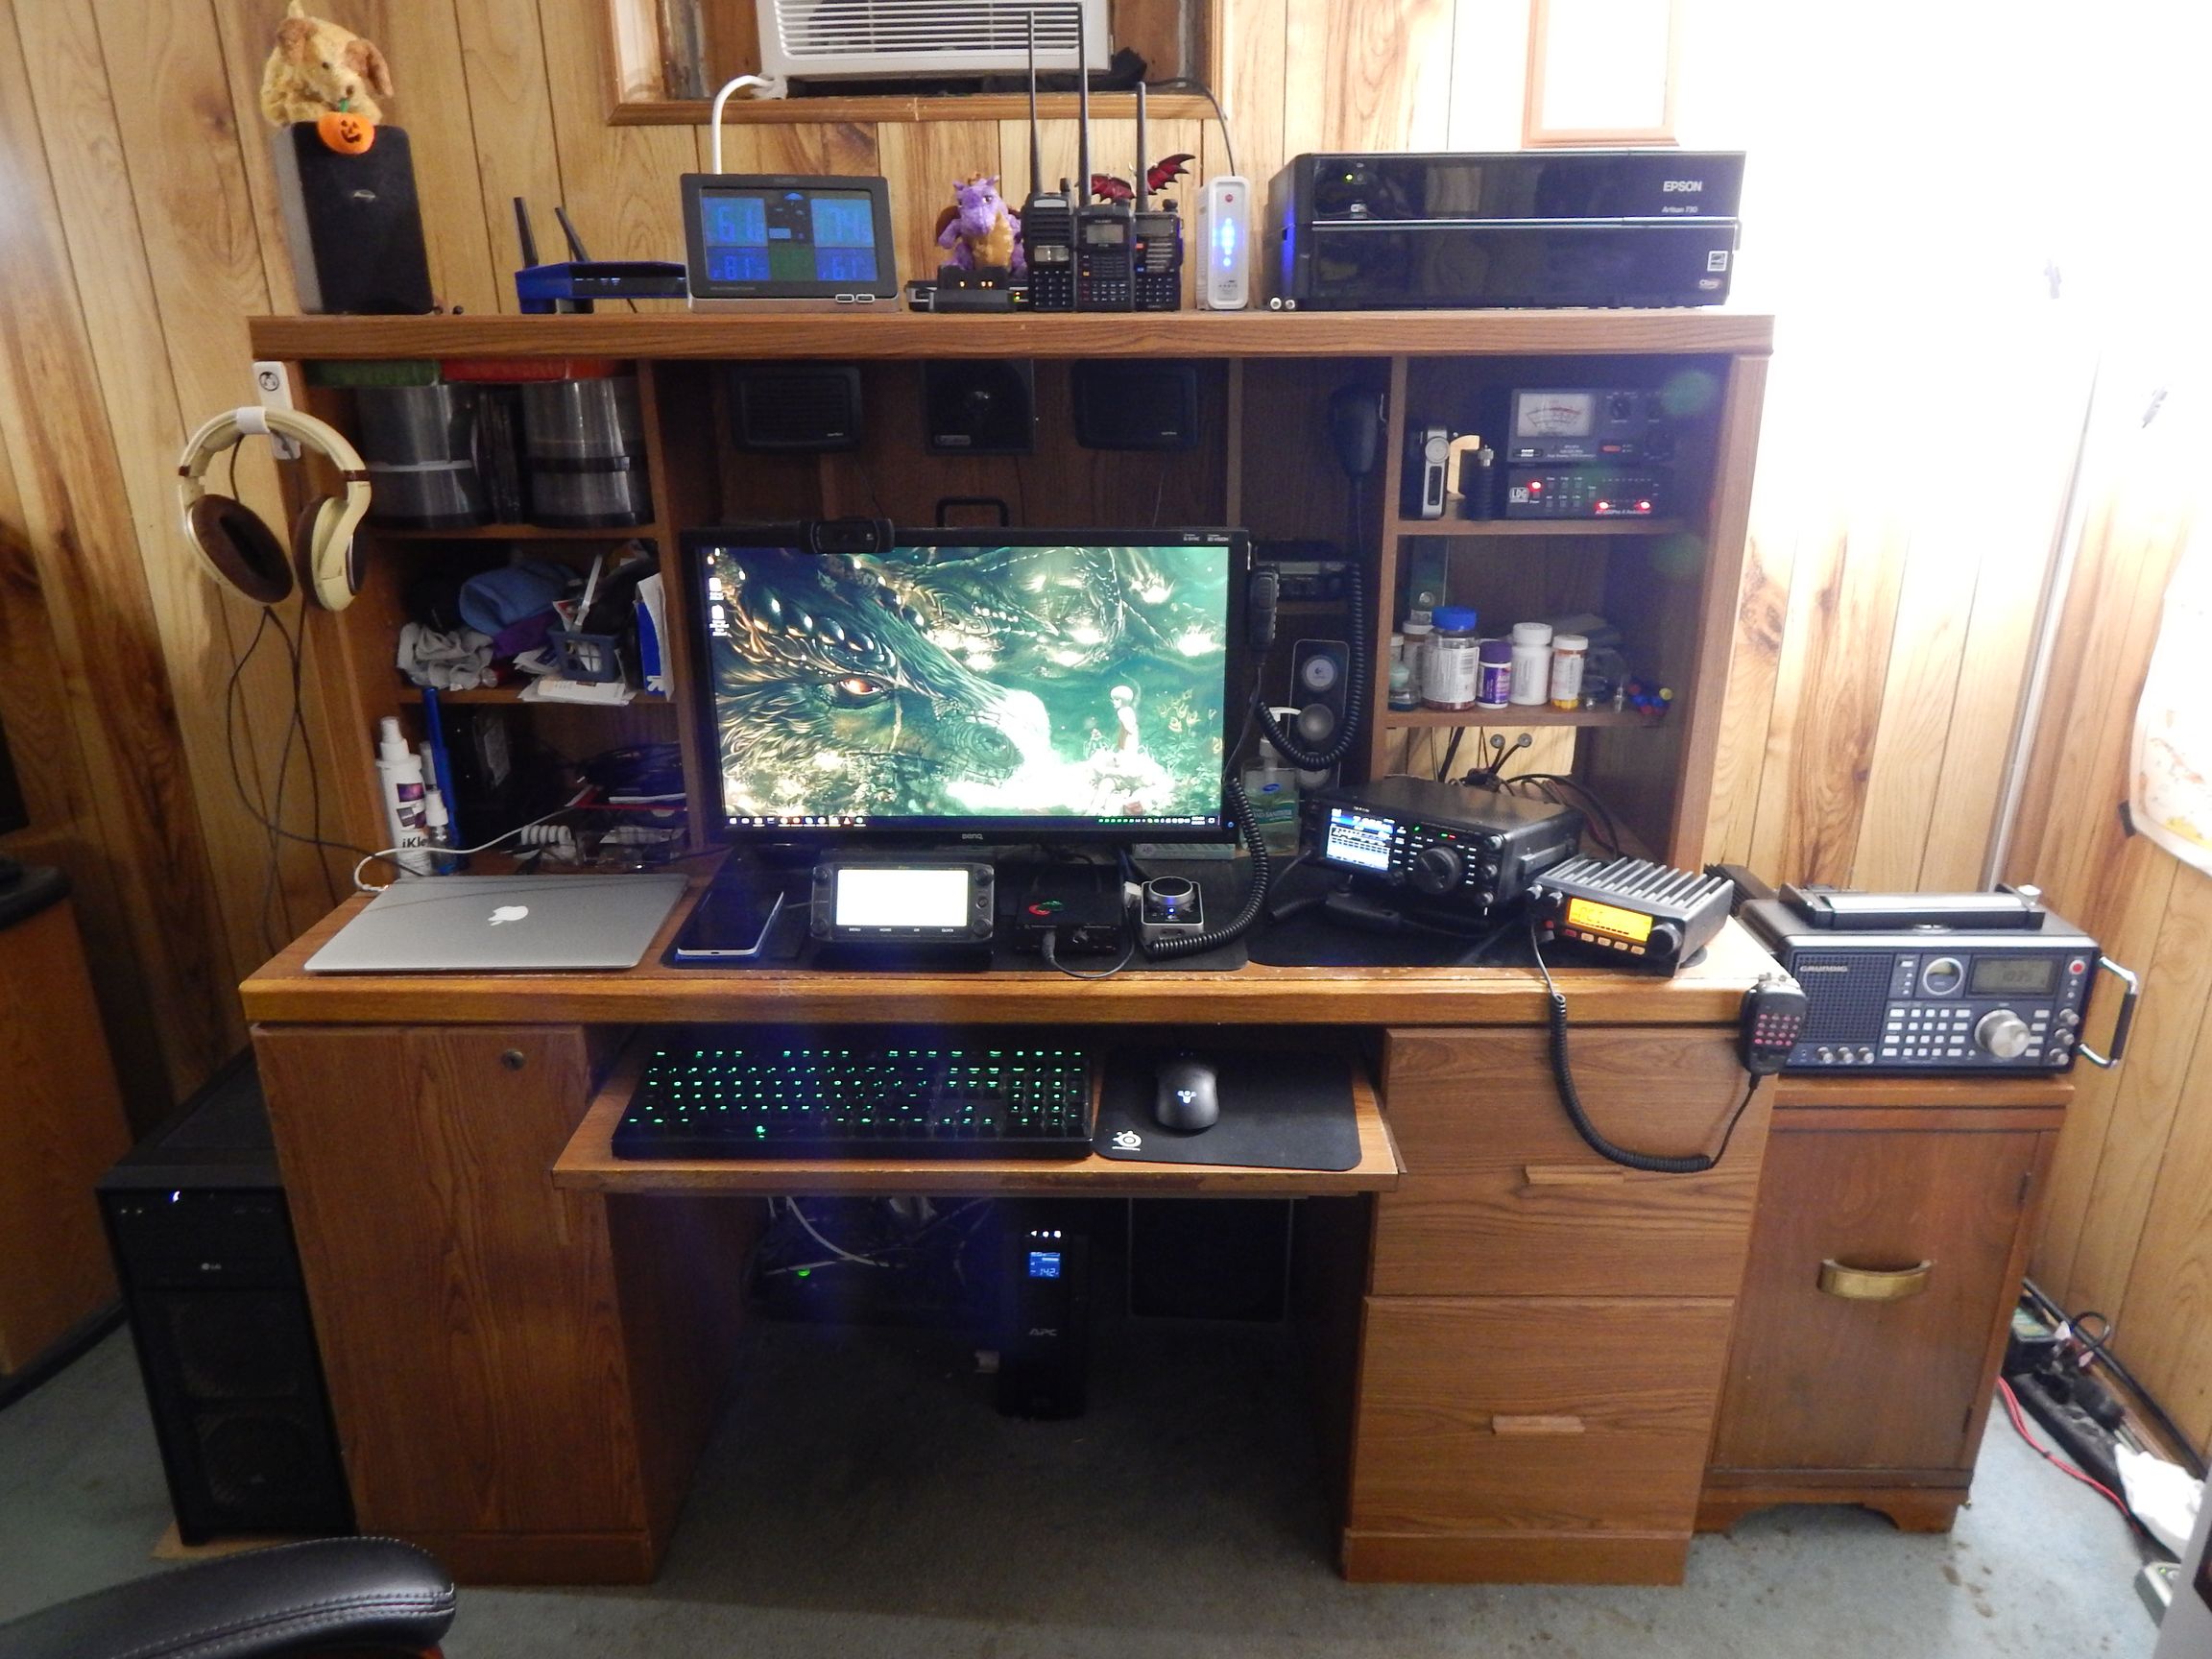
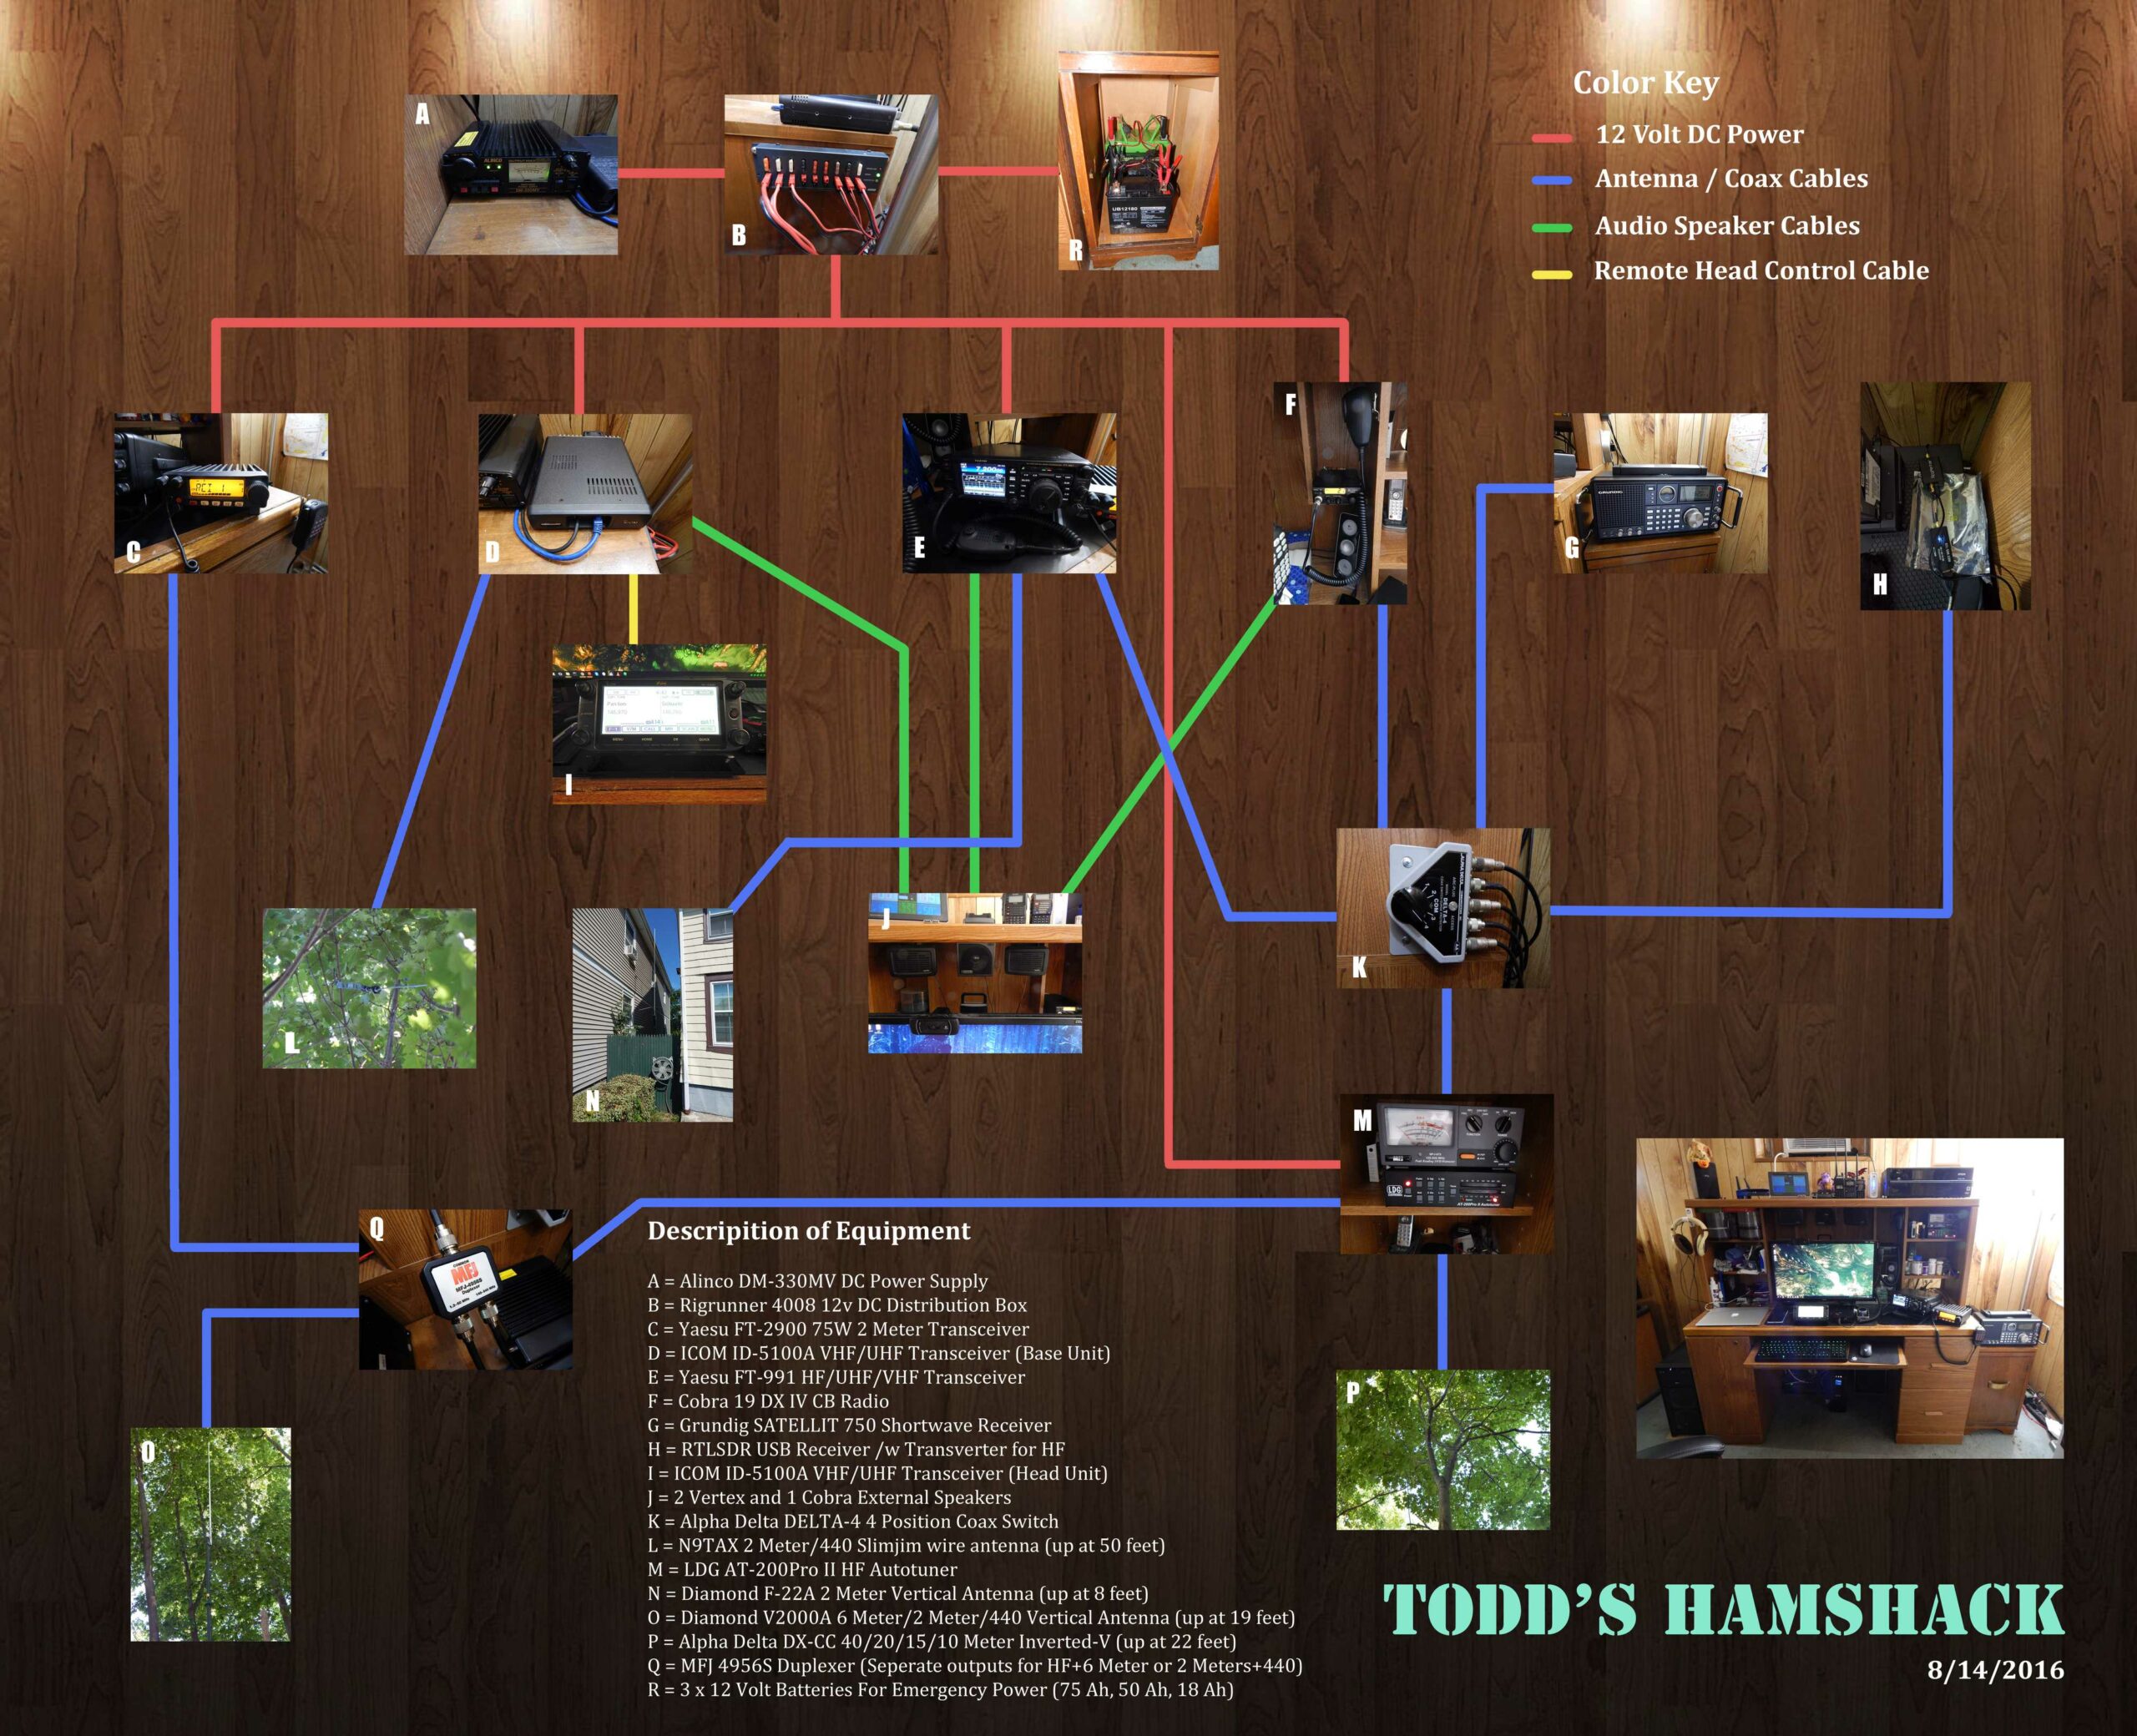
In the last couple of years, i’ve had to move twice, and that has been a huge limiting factor in how I could operate on the ham bands. For many years, I was fortunate enough to enjoy the setup you see below. I even put together a fancy graphical layout of how all my equipment was connected!

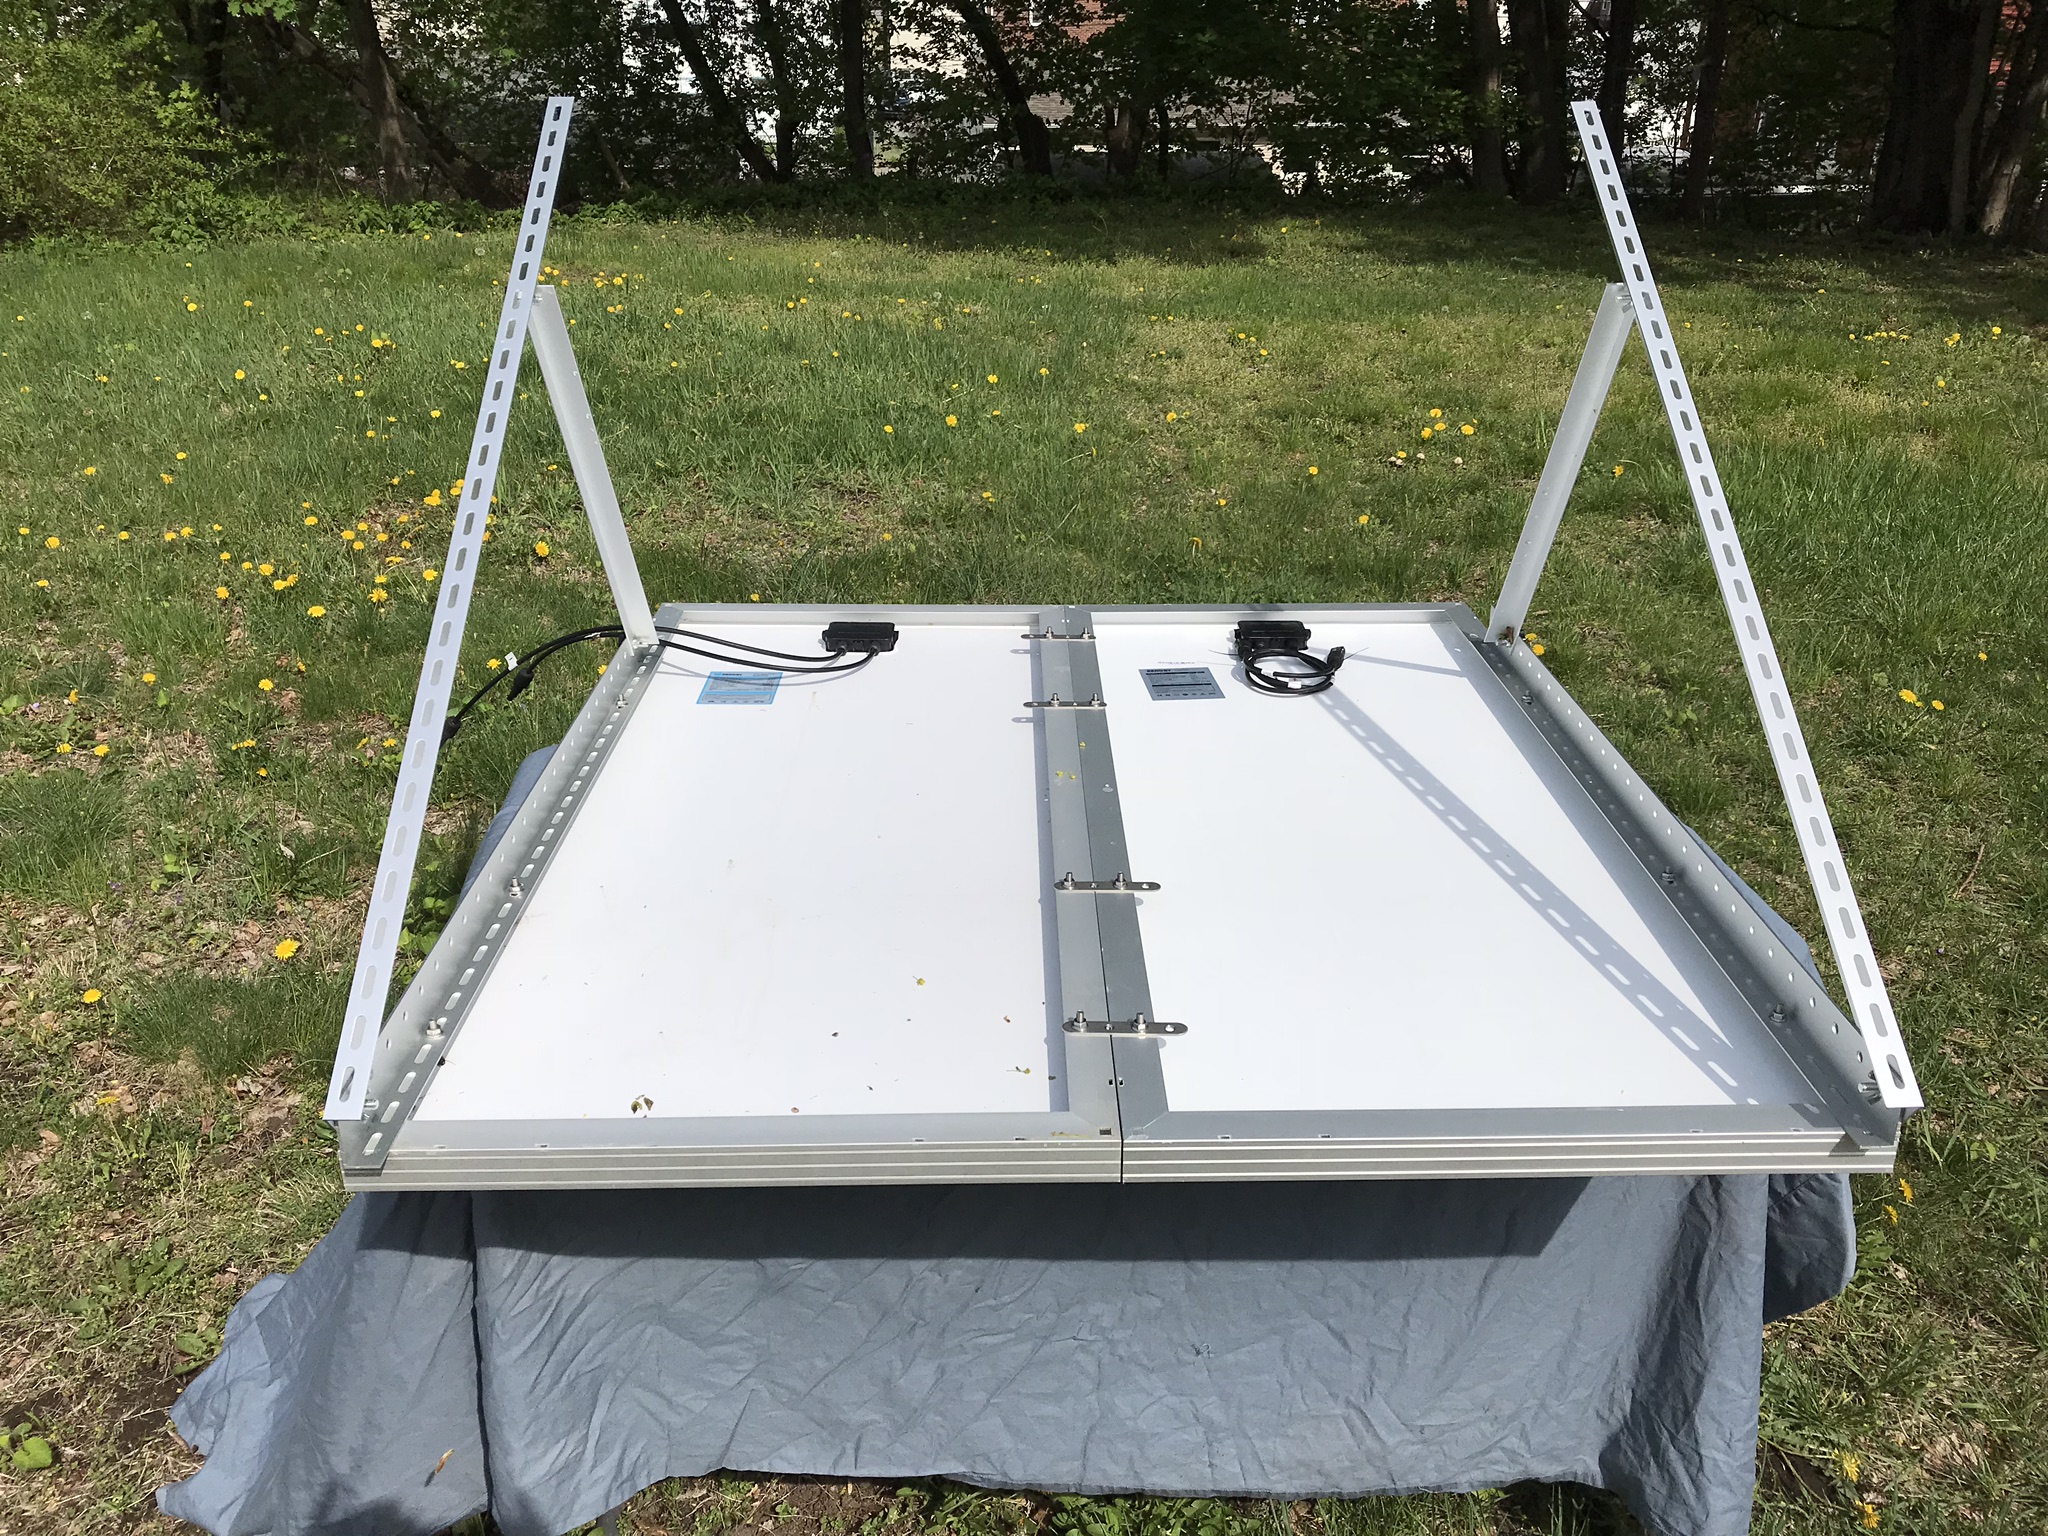
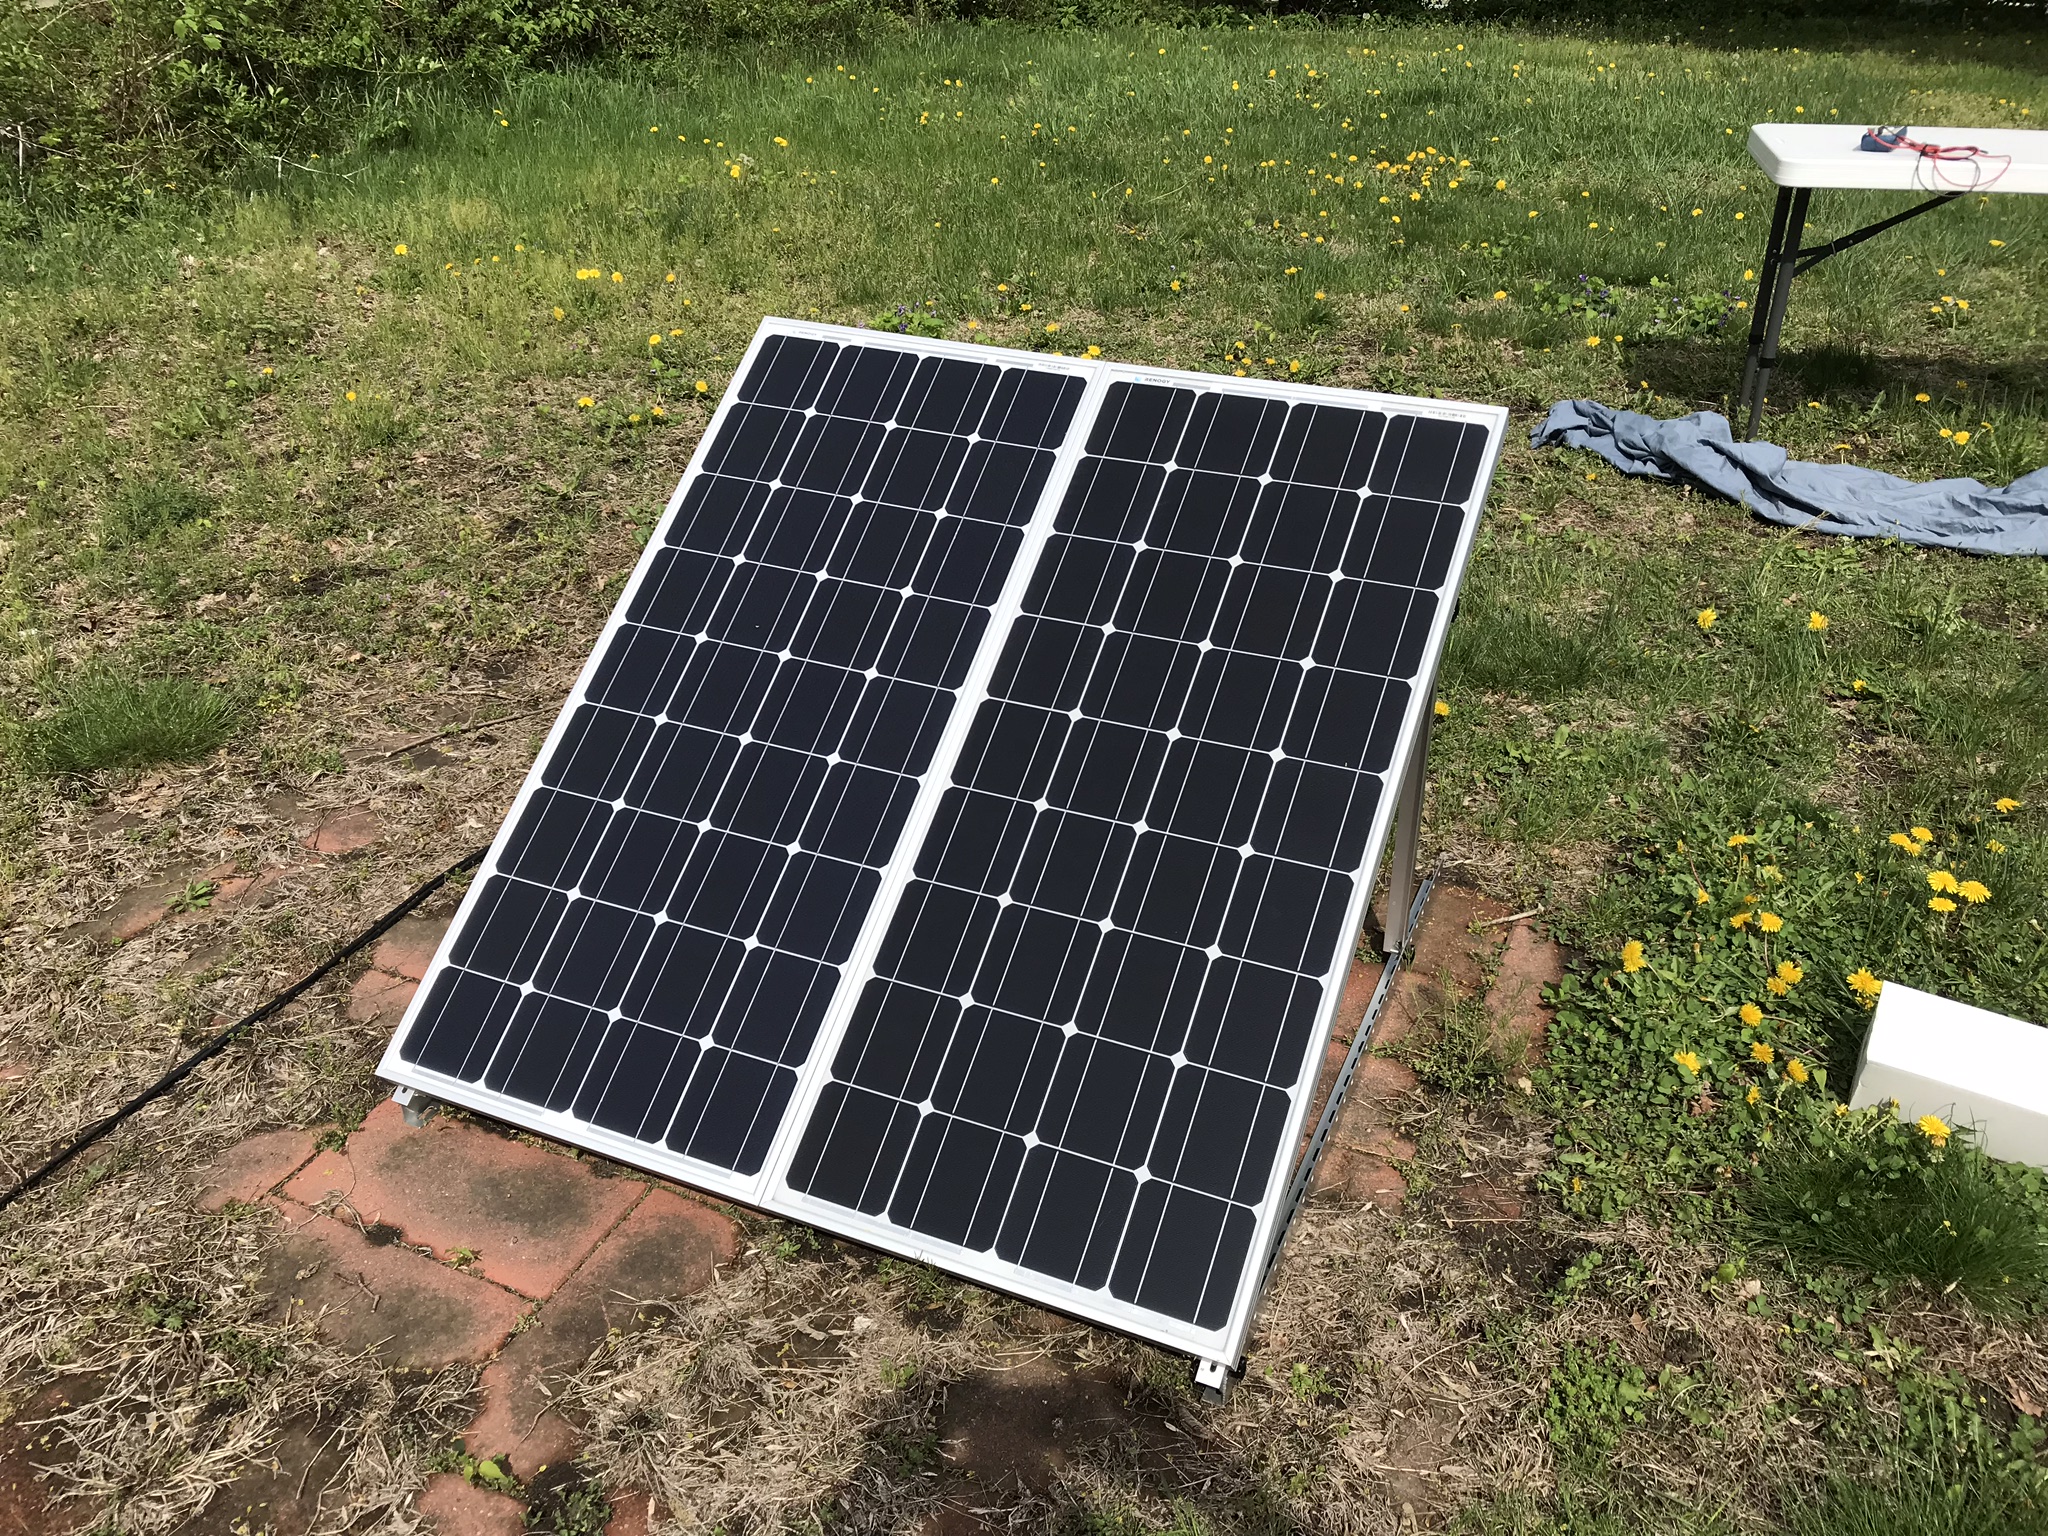
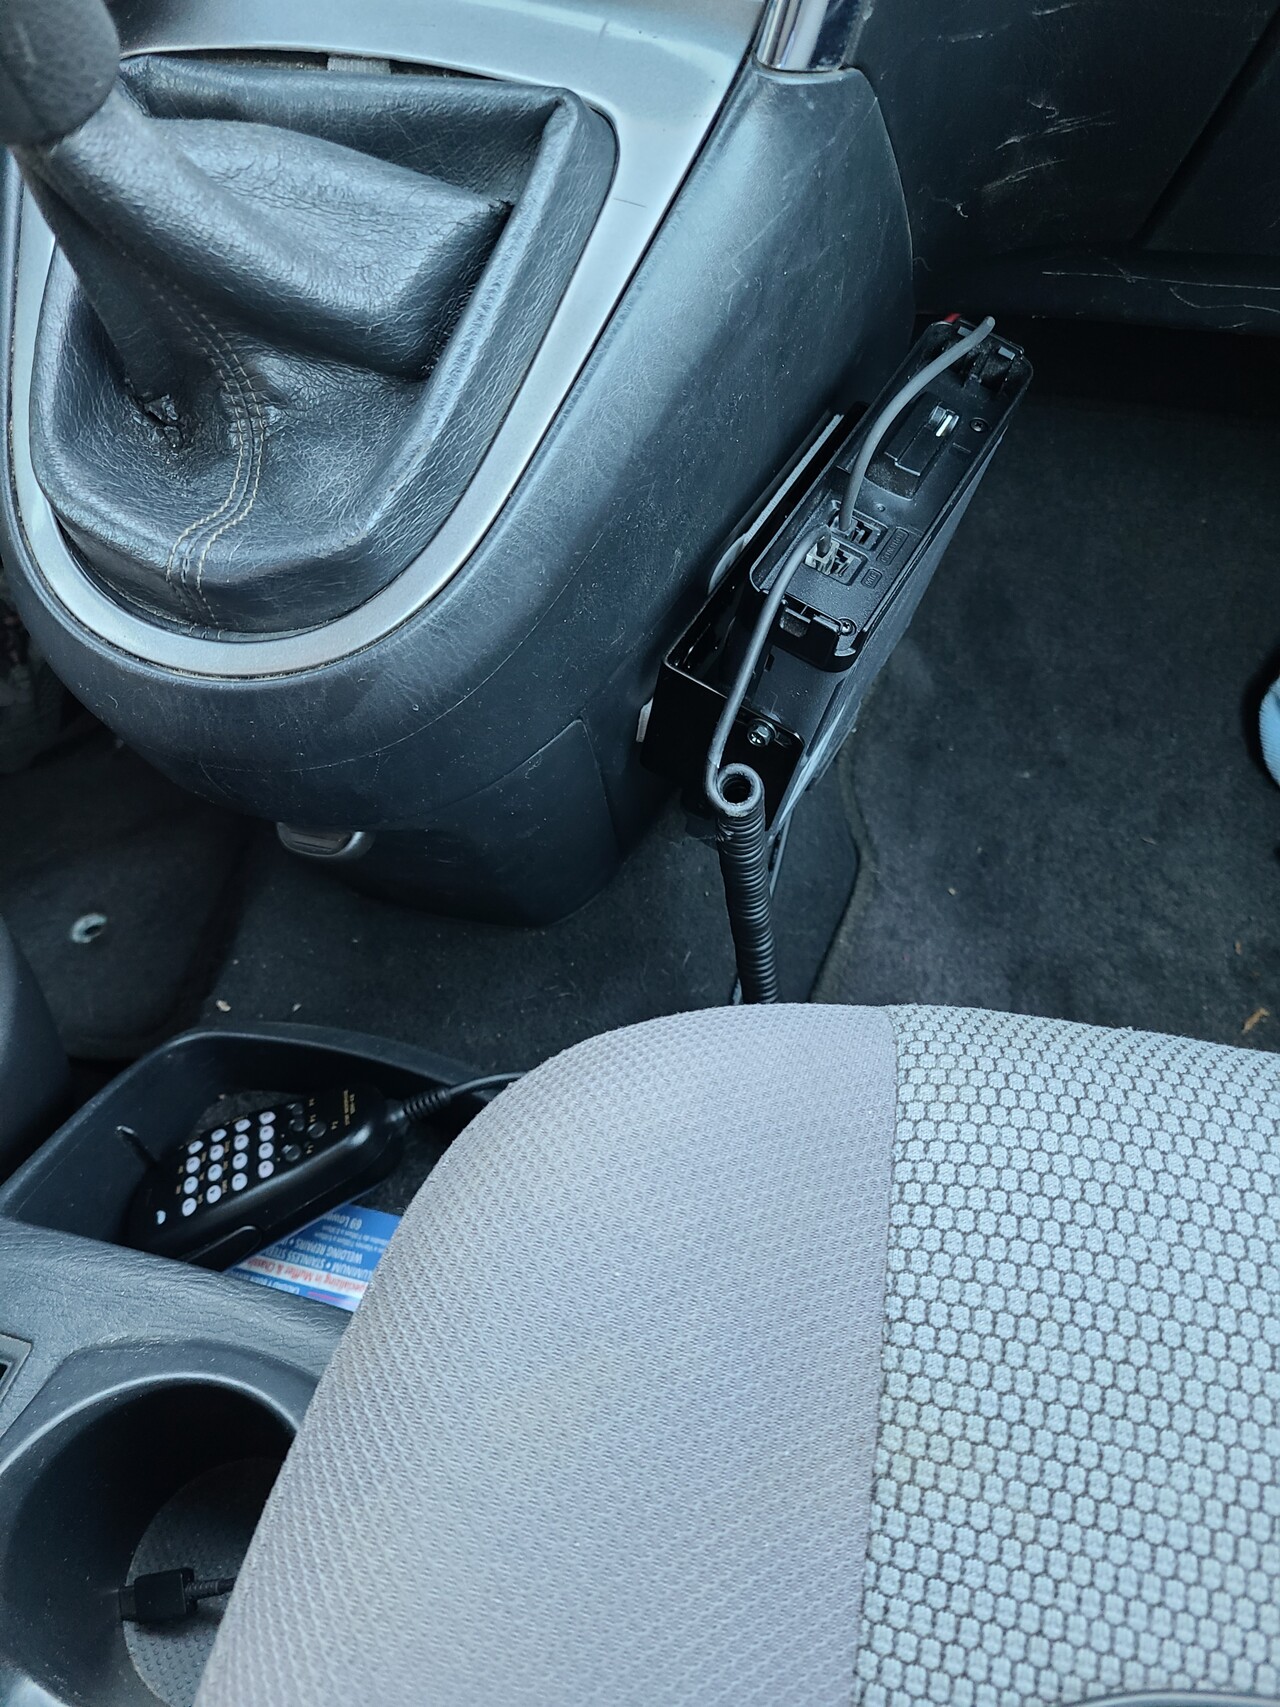
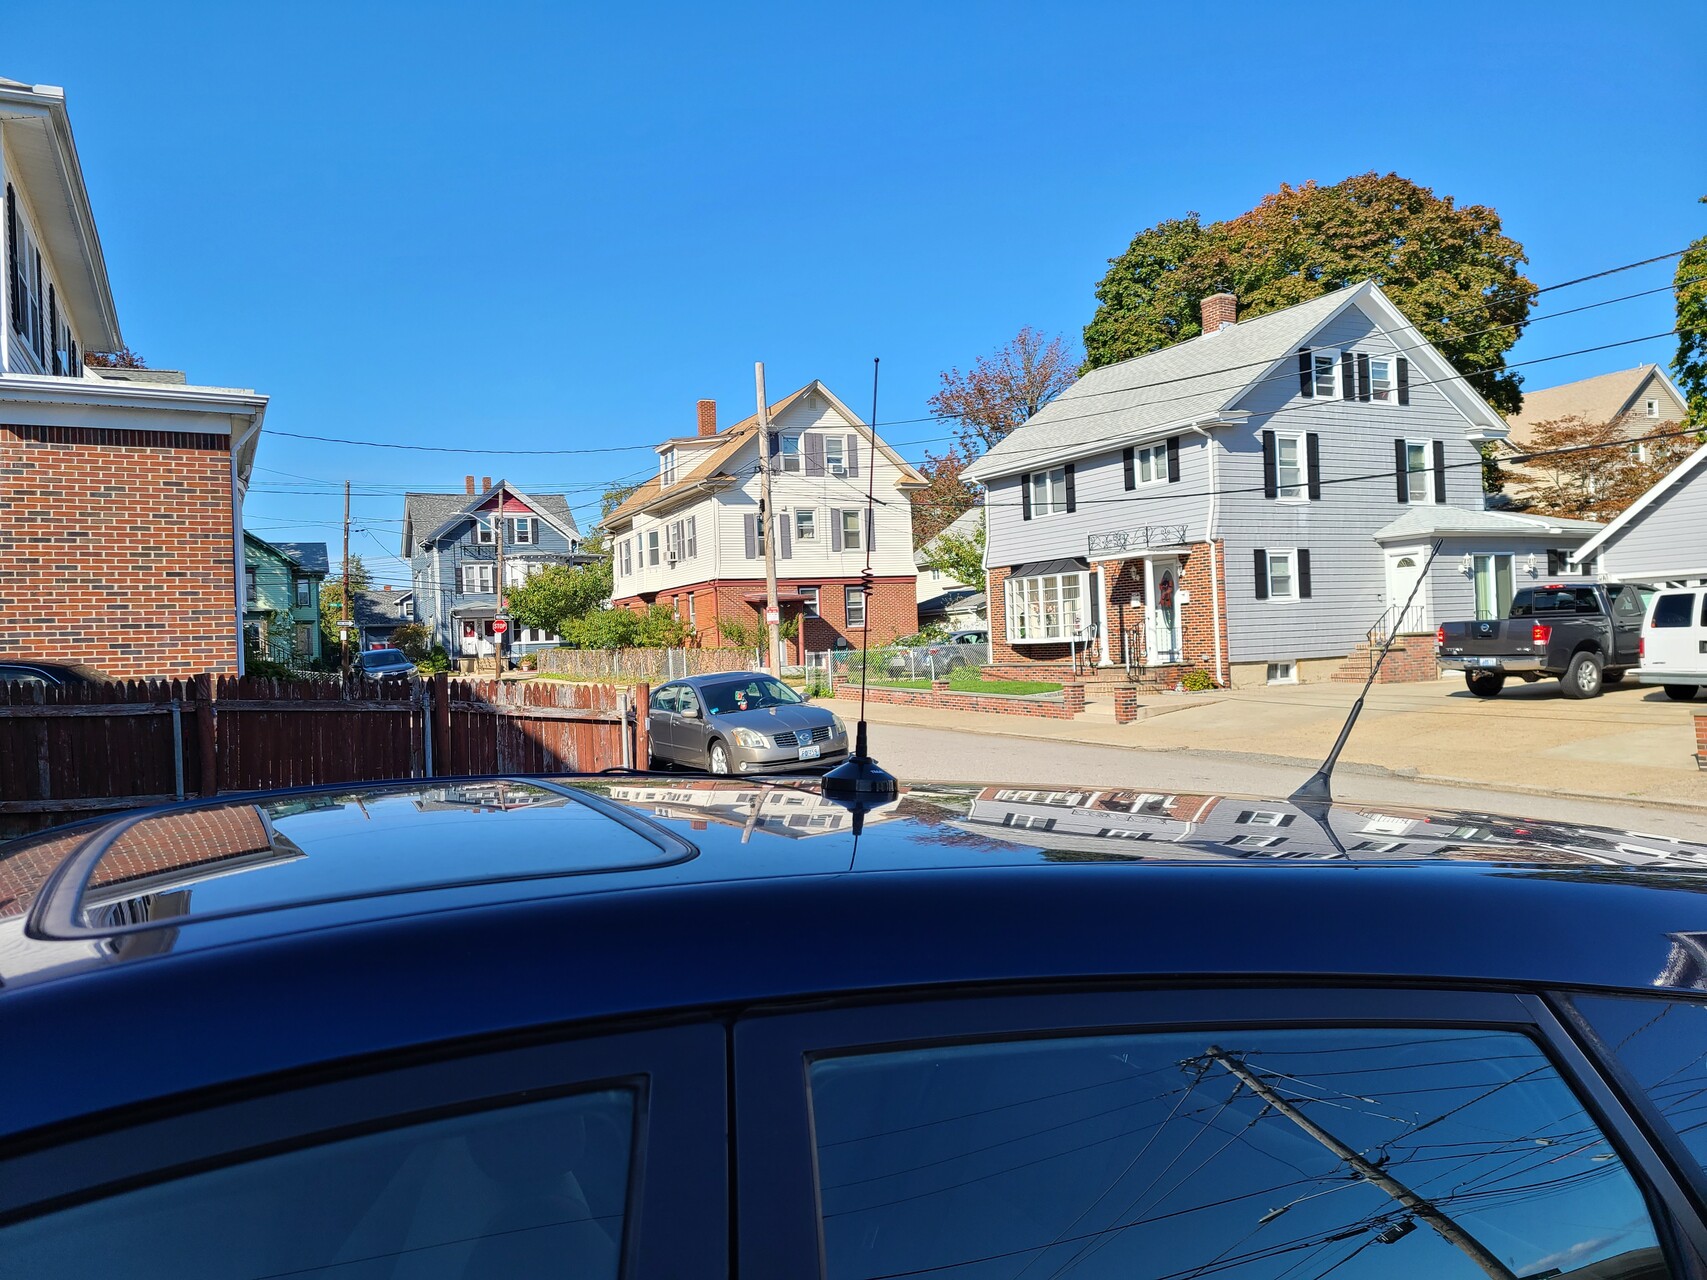
Since I was living in a house owned by family, I was allowed to put up some cool antennas using the trees and such, but then circumstances changed and I had to start looking for an apartment instead. Well, this time around it couldn’t have been a more different situation. The new place was in a very urban area on the second floor of an apartment building. There were literally no trees or outdoor structures whatsoever to mount something to, AND I literally had a huge pole transformer right outside my window. The best I could do was put up a slimjim 2m/440 wire antenna on the wall, but it was really only useful to get into a handful of nearby repeaters. Also my neighbors in the building did NOT seem to appreciate the sounds of communication audio and probably heard interference everytime I keyed up the mic. It was kind of a lost cause sadly, but I came up with a backup plan! I moved my setup into my 2005 Toyota Matrix instead. 😀 Check it out!

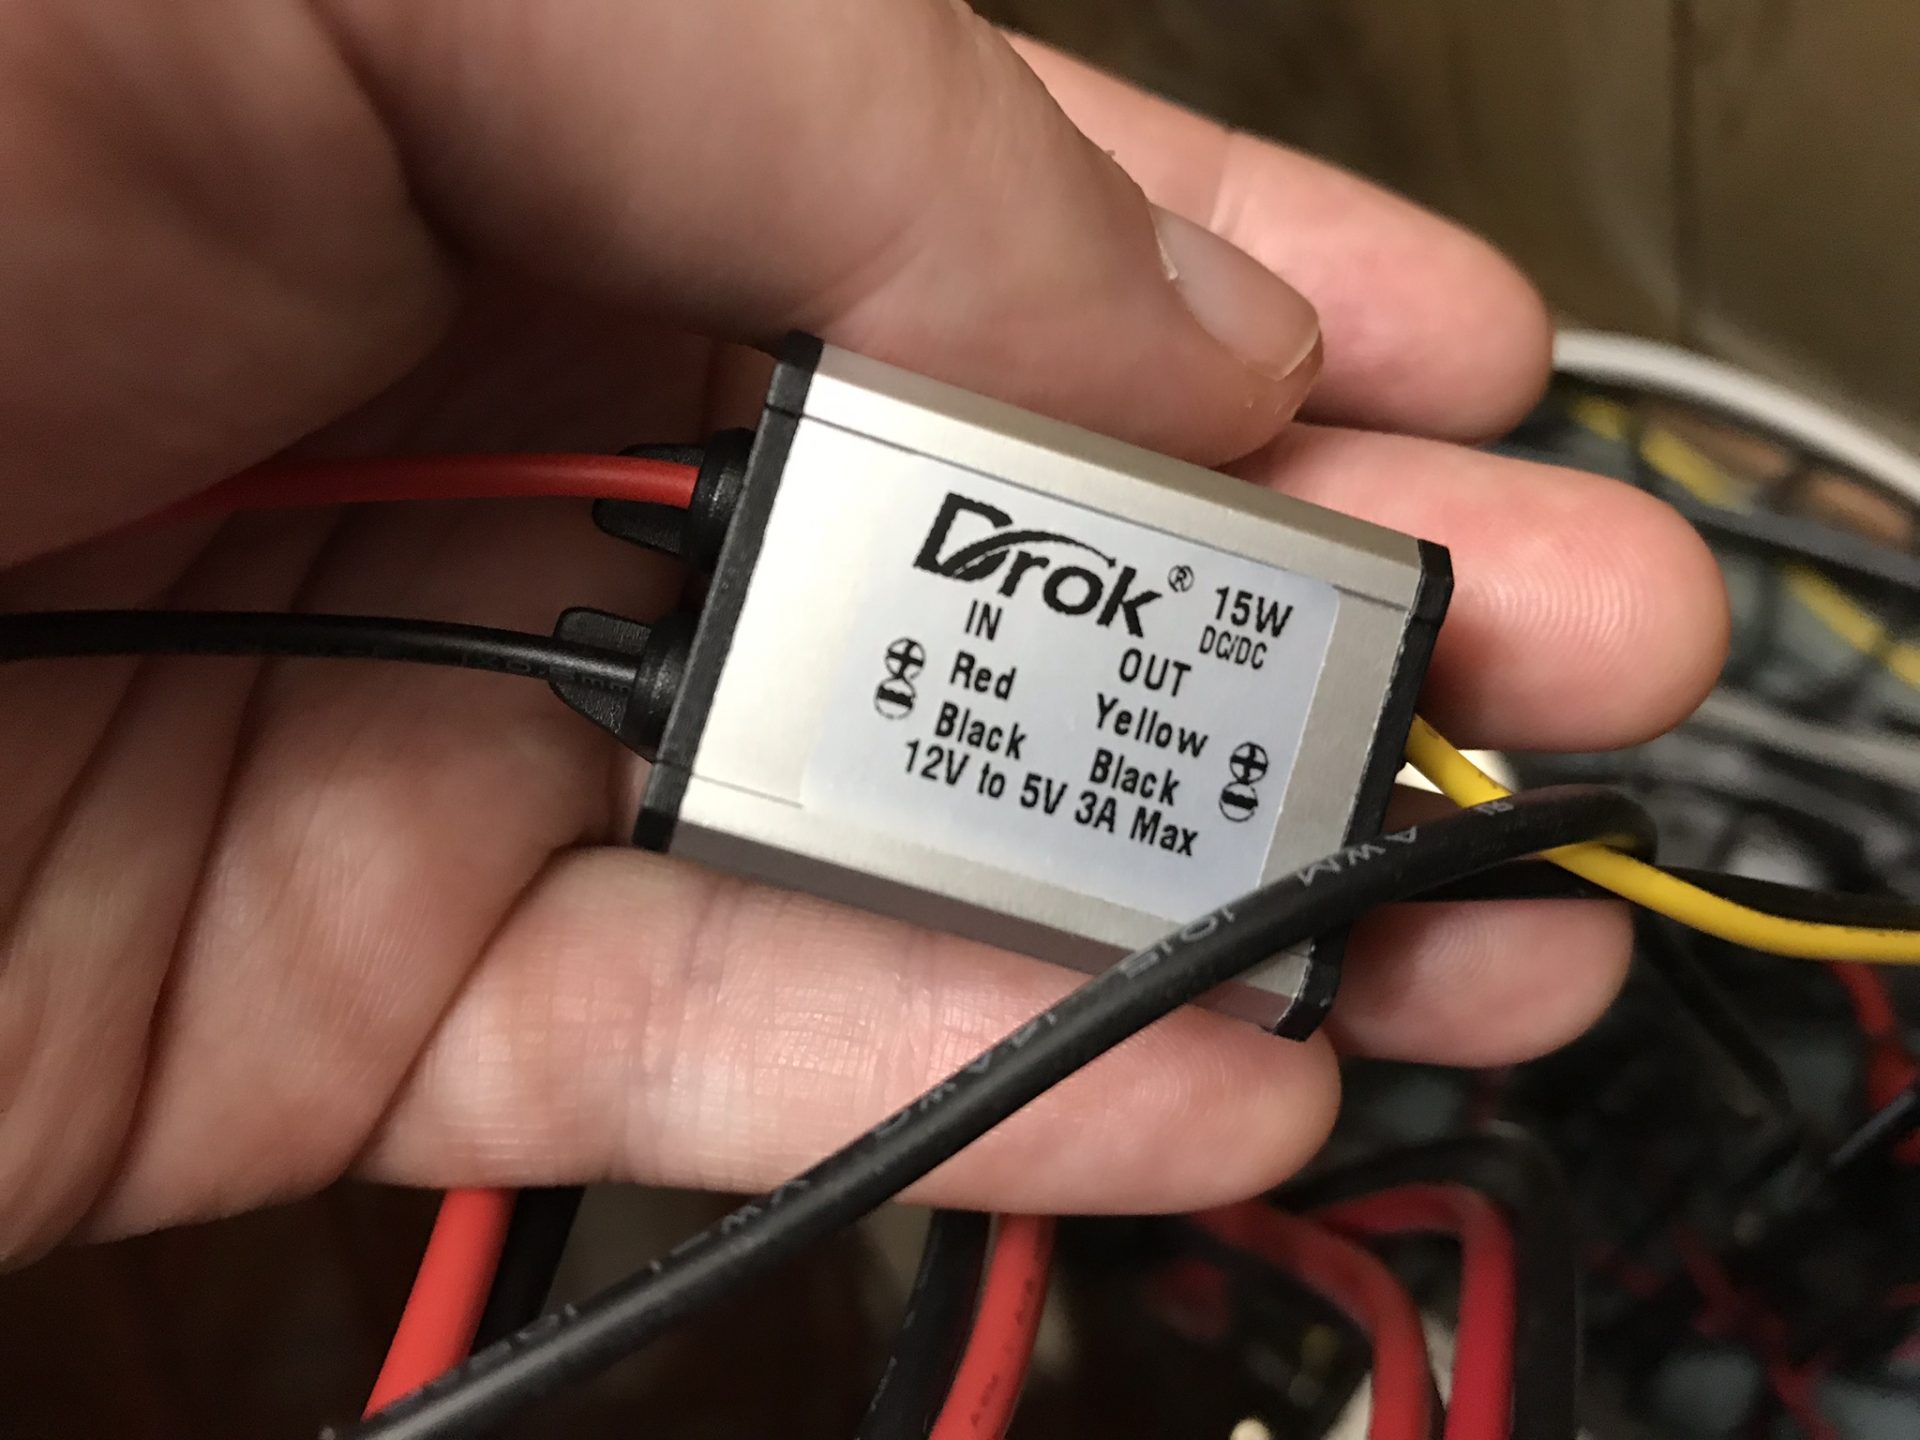
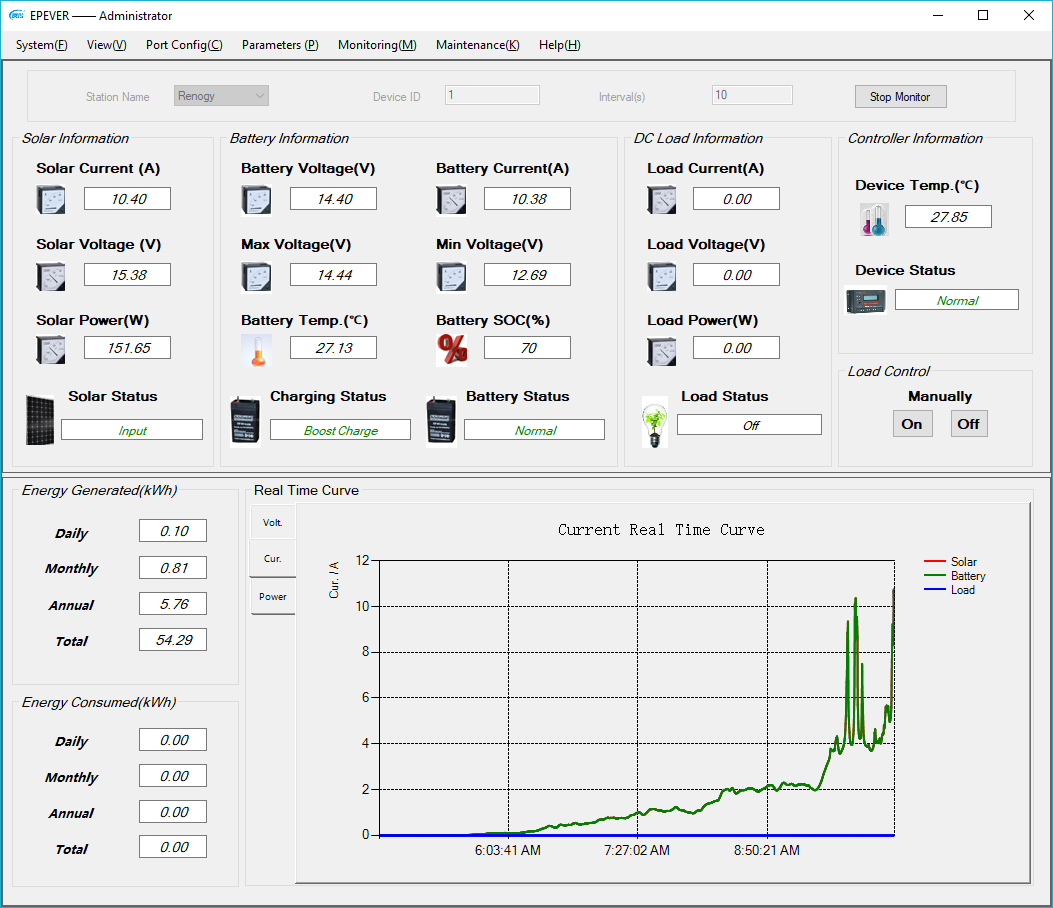
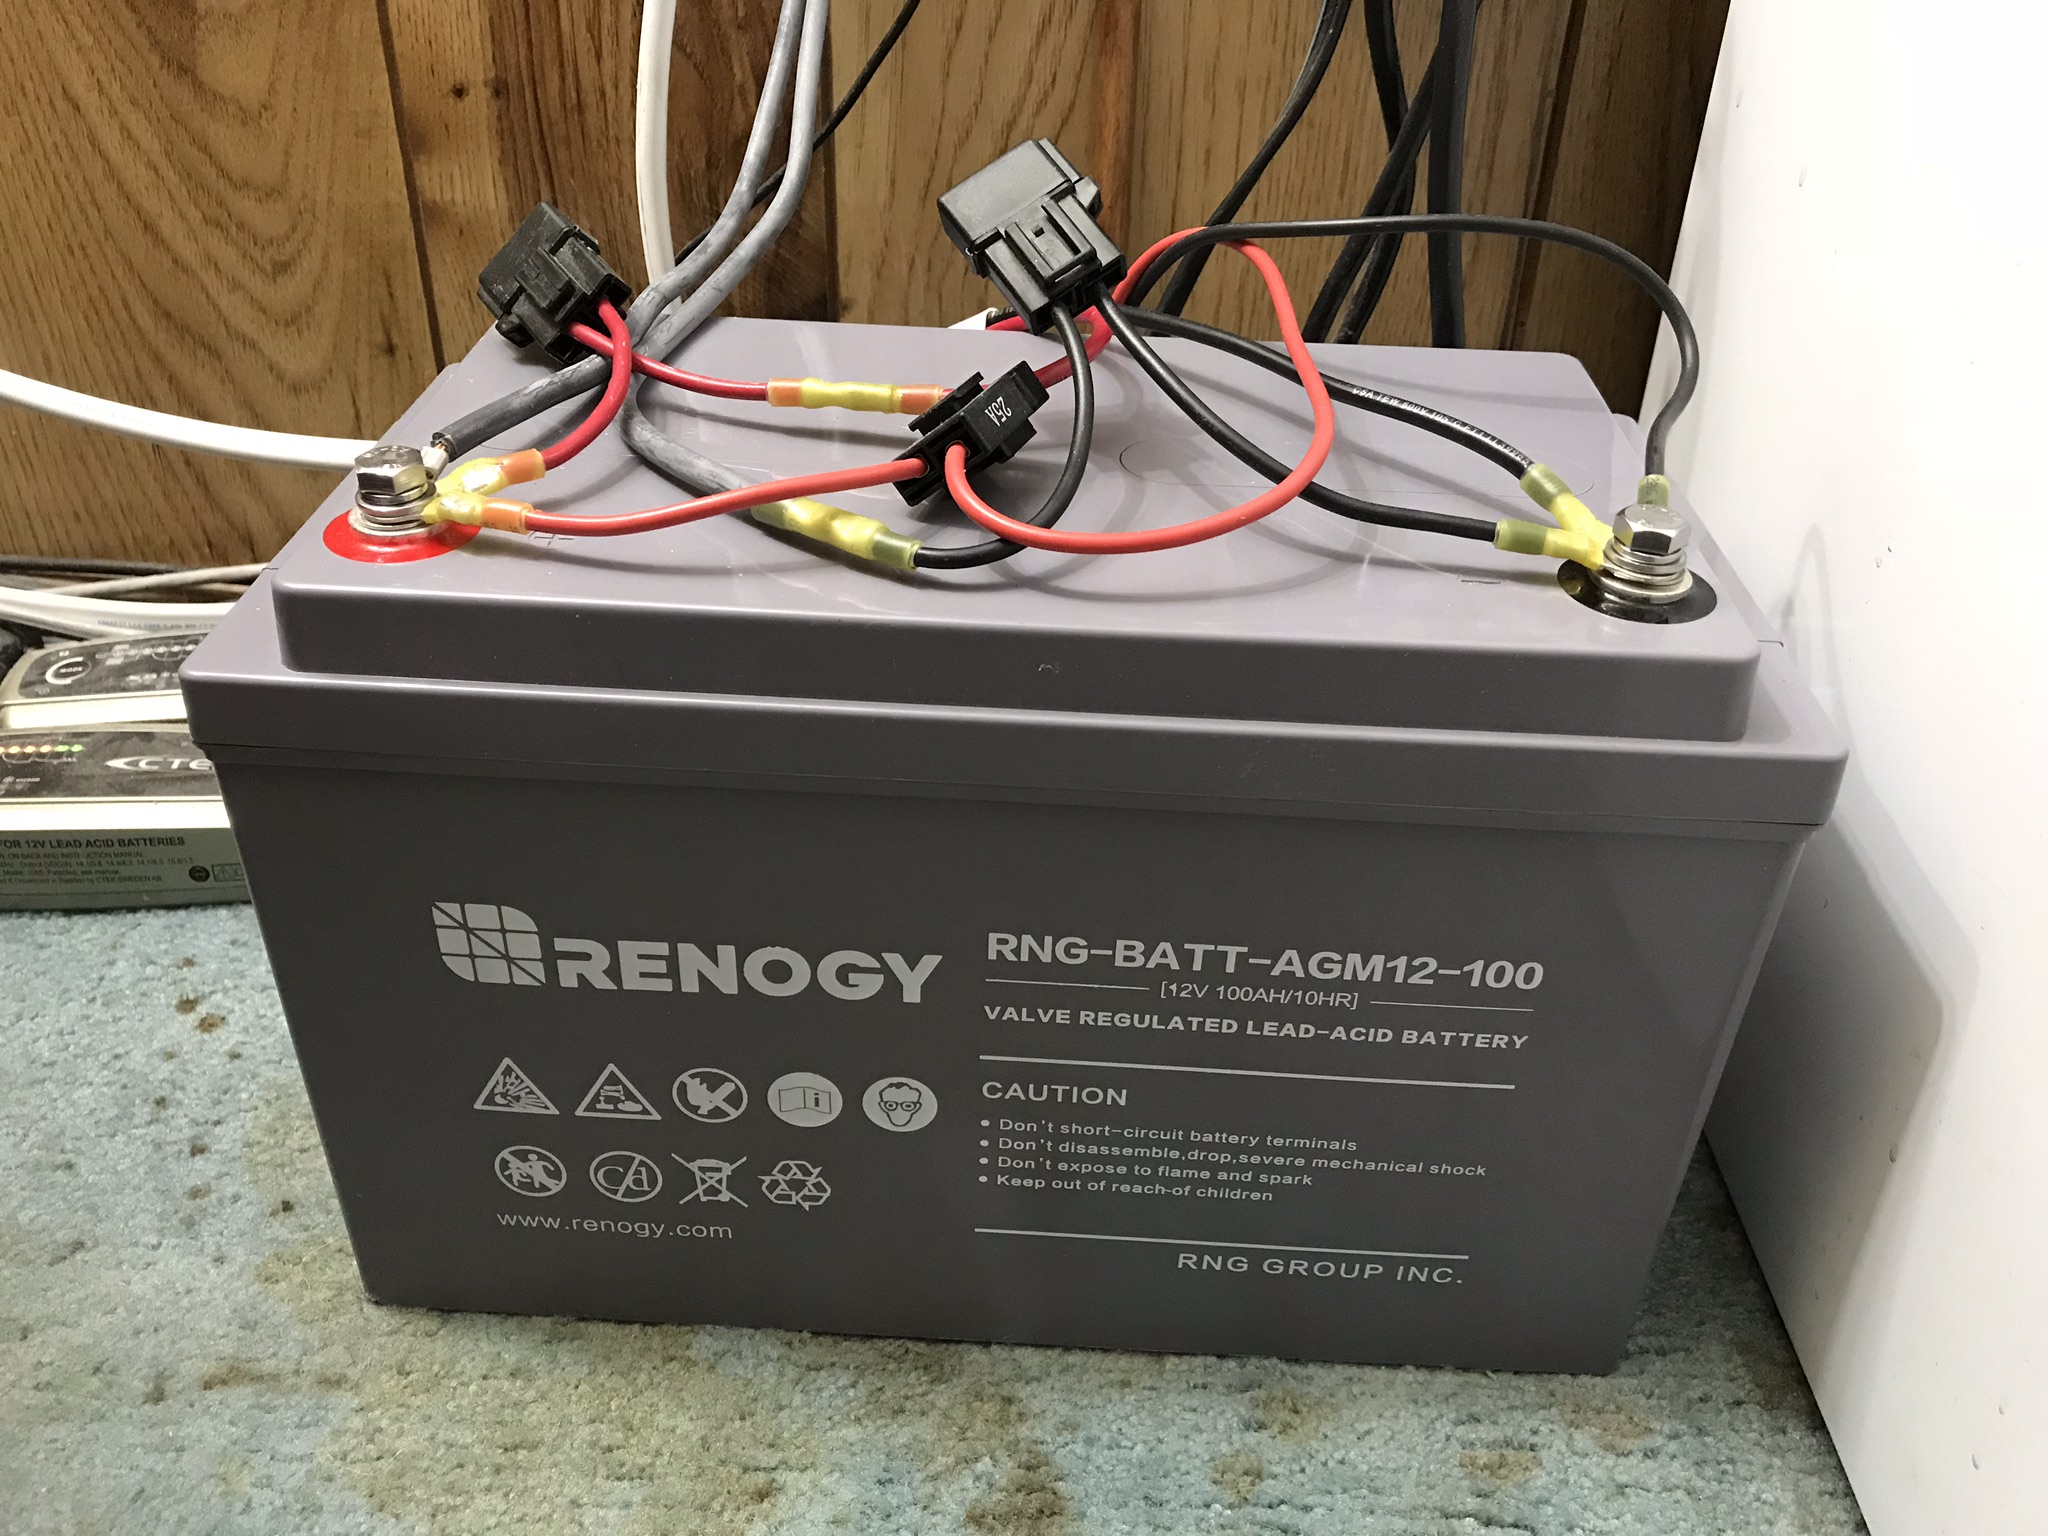
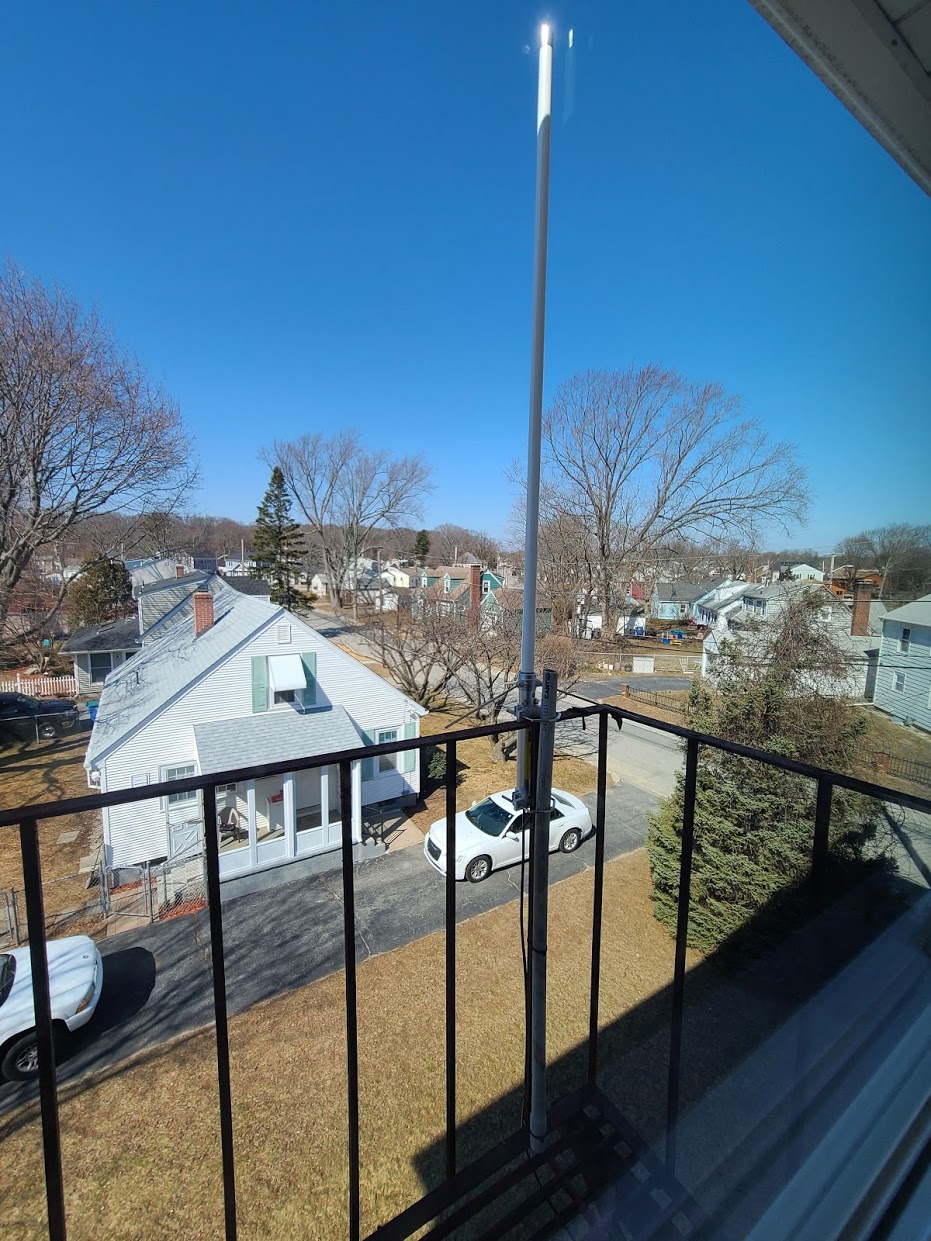
Ok, so now fast foward 1.5 years later to present day. I just moved in to a new place in a much nicer area and with a lot more possibilities in terms of radio stuff. For one thing, I am on the top floor and so automatically have more elevation than I did before. But more importantly, I have both a balcony on one side AND a fire escape on the other! It didn’t take me long to put together a plan for a new ham shack at home! My current setup is a small Diamond X-30A 2m/70cm dual band antenna on the fire escape, 30 feet of RG-8X coax, and a small but effective 25 watt AnyTone AT-778UV 2m/70cm dual band mobile. All of the affordable models of Amateur brand radios are out of stock everywhere, but it worked out ok since I didn’t have alot of extra funds after moving expenses and what not. I’m back on the air!

Running My SiriusXM Radio Off of a USB Battery Bank

I had a cool idea of how to run my portable SiriusXM satellite radio completely from USB battery power if we had a power outage. It’s amazing how many devices are 5 volt DC-based and can be easily run off of a USB port or two. But yeah, SiriusXM offers quite a few more options in terms of radio stations to listen to than AM/FM when the power is out 😉

CoCo Chiptunes Player for NitrOS-9 is Released!

So I finally have a working chiptunes player for OS-9! “Chiptunes” are FM synthesizer-based song files often found in video games, etc. This player currently only supports the OPL sound chip inside the Mega-Mini MPI, but I plan to hopefully support more hardware like the GMC and the Speech Sound Pak in the future. Give it a try and feel free to let me know what you think or what additional sound chips you’d like me to support later on. Below is a link to a ZIP file containing disk images of my program in various forms, and a demo video of my showing it off on my system. The VHD is a hard drive image that also has many CCT and VGM song files to try. The DSK file is a 720KB image with just a few song tracks I could fit for those who don’t have hardware supporting large disk images. I encourage you to try your own VGM files too and let me know if any of them give you trouble. A HUGE thank you to everyone that helped me put this together.

Download Link: cctplayer.zip

My Custom CoCo Keyboard Polling Routine (Initial Release)

Some people seemed interested in checking out the custom keyboard polling routines I wrote for the CoCo from scratch. It does not depend on BASIC in any way. It does depend on a little bit of code being put inside an interrupt. It’s a work in progress and not complete by any means, but maybe it will help someone 🙂 Feel free to reach out with questions or suggestions using my Contact Info!

Download Link: lorddragon_keyboard.asm

My Disk Utility Project for the Tandy Color Computer

So I thought I’d start documenting my CoCo programming projects on my website. (Inspired by Nick Marentes’s development blog of his cool upcoming game Gunstar). My main project is a disk utility that I am currently calling “RS09” (I may change it in the future). You may think “ANOTHER disk utility after all the ones made over the years?! Why?”. Well the main reason is because I’ve always been fascinated with disk formats and this project is the perfect way to learn all the ins and outs of CoCo hardware and 6809 assembly language.

Intro screen to my disk utility. Shows the default format/device for the drives.

The other reason is because this utility will support devices both old and new, physical floppy drives to CocoSDC, and it will support both DECB formatted disks and OS9 formatted ones. You’ll be able to copy files directly from one format to another, whether they are on an actual 5.25 inch floppy disk or a DSK image on the CocoSDC. There is an awesome tool that does the same kind of thing (and more) called MShell by Bill Pierce complete with a fancy GUI, but it requires you to be running OS9. My utility is completely STANDALONE. Everything is completely custom and written from scratch that talks directly to all the hardware. It doesn’t even use BASIC calls for things like keyboard. It uses a command-line oriented interface that will be customizable at some point. I originally started writing the code in C and compiling it with CMOC developed by Pierre Sarrazin, but as I got closer and closer to the hardware, it got more and more difficult. So I started re-writing everything I had so far in pure 6809 assembly. The CoCo development community has been a huge part of my endeavors, answering my endless questions about 6809 ASM and giving all kinds of great advice. They will all be getting a HUGE thank you in my credits when I finish the program. Anyways, here is a snapshot of my progress so far:

Here you can see both disk formats in action at the same time.

So far, in terms of functionality, I have directory listing, changing directories on OS9 disks, and various commands for controlling which disk format a drive number should use and which device to use for each. I’m currently working on the file copy part. I did a short demo video of this in action if you want to check it out. Thanks for reading. 🙂

Quick demo of my program accessing various disk hardware devices. Also, my accent is Boston as hell. LOL.

Solar Charge Controller Upgrade

Since I added the second solar panel, it has opened up the door to more efficient output and less loss from my 55 foot wire run into the house. In order to maximize the output from my now TWO panels, I needed an MPPT controller which would allow me to put my panels in series, instead of parallel. Here is a short video showing it to you. Will post some numbers when we get a really sunny day next to see how much better it is.

Weather Station Display Upgrade

So, my weather station mostly worked great, except that I would occasionally lose the outdoor sensor signal. Then it would be a few hours before it found it again. I don’t know if my sensor is just a little too far away or what. I did some searching and found they sell another compatible display model that actually has a full LCD screen. More importantly, it features an EXTERNAL antenna. So I upgraded to this:

As you can see, the display is beautiful and has 3 info screens. Outdoor info, Indoor info, and then Records. This unit can store up to a year of data its collected. Since it has a real LCD screen, you can even display graphs of rainfall or windspeed etc. I get a perfect reliable signal now. The only negative is that there is no battery backup. Which means if the unit loses power for too long, you will lose your data and have to start over from scratch. So seeing as I have a 12v solar setup for my Ham Radio stuff, I thought, why not run it off of that. So I chopped up the power adapter for my weather station and wired this DC regulator in.

It takes 12v DC in and puts out 5v DC which is what my weather station uses. I was worried the weather station might use alot of power and drain my battery, but after some measurements, it only needs 0.13 amps at 12v DC to run. Thats not much at all and shouldnt be a burden on my system.

Lots of amps!

Sun came out for a few mins this morning and look at that output! 10.4 amps, 150 watts!! Getting that second panel was a good choice. Glad I went with 10 gauge wiring too. Brings a tear to the eye to see so much power coming in!

How much sun do my panels get?

This is a short timelapse video illustrating of how much sun I can get with solar panels that stay on the ground in the city. Obviously, the spring and summer months are excellent because the sun is so high in the sky, but you can see the morning and late afternoon, some obstructions come into play. Also I make a cameo putting away the garbage bins. LOL.

Solar System Upgrade

After a long winter, we are finally well into spring and the Sun is out often again! Now that bad news. Something happened to my 12v AGM batteries over the winter. I dunno if it was the lack of charging everyday or just poor quality batteries, but both of them died. They wouldn’t hold a charge. As soon I’d put a charger on them, the voltage would shoot up like they were full and after only an hour, it would say they were fully charged. When I put a load on them, the voltage would drop quickly and within an hour be down to 10 Volts. So I had to junk them. I won’t be buying APEX batteries anymore. I replaced it with this one, from Renogy, the same company I get my solar equipment from. Sadly, these things are expensive so I could only afford one.

New AGM Battery


So onto the solar upgrade. 100 Watts was nice, but I always felt it wasnt quite enough for my needs. Now with only a single battery to get me through cloudy and rainy weather, I decided I wanted to add a second panel. This presented some challenges. My single panel was sort of frankensteined with my old harbor freight solar panel frame made out of PVC and the year wasnt kind to it. Between baking in the sun and neighborhood kids climbing on it like a jungle gym, the frame was broken in several places and taped up with duct tape. Besides, it was too small to fit a second panel. So I decided a needed a new frame. I considered building my own out of PVC, but my buddy Steve brought my attention to an aluminum metal solar stand. The only catch was its meant for a single panel. Each “leg” attaches to one side of the panel. So I had the idea of bonding my two panels together with metal plates to use with the stand. I was unsure of how secure it would be, but it’s quite secure. Below you will see how I set it up and bolted the panels together.

And finally the finished result. Introducing my dual panel 2×100 Watts setup with a peak of 200 Watts! They are connected in parallel, positive to positive, negative to negative with some adapters I bought with the second panel.


Since I JUST finished setting up and my battery is already fully charged, I will get back to you all on how much output I get from the two of them. I’m pretty happy with the result!