lorddragon

CoCo Chiptunes Player for NitrOS-9 is Released!

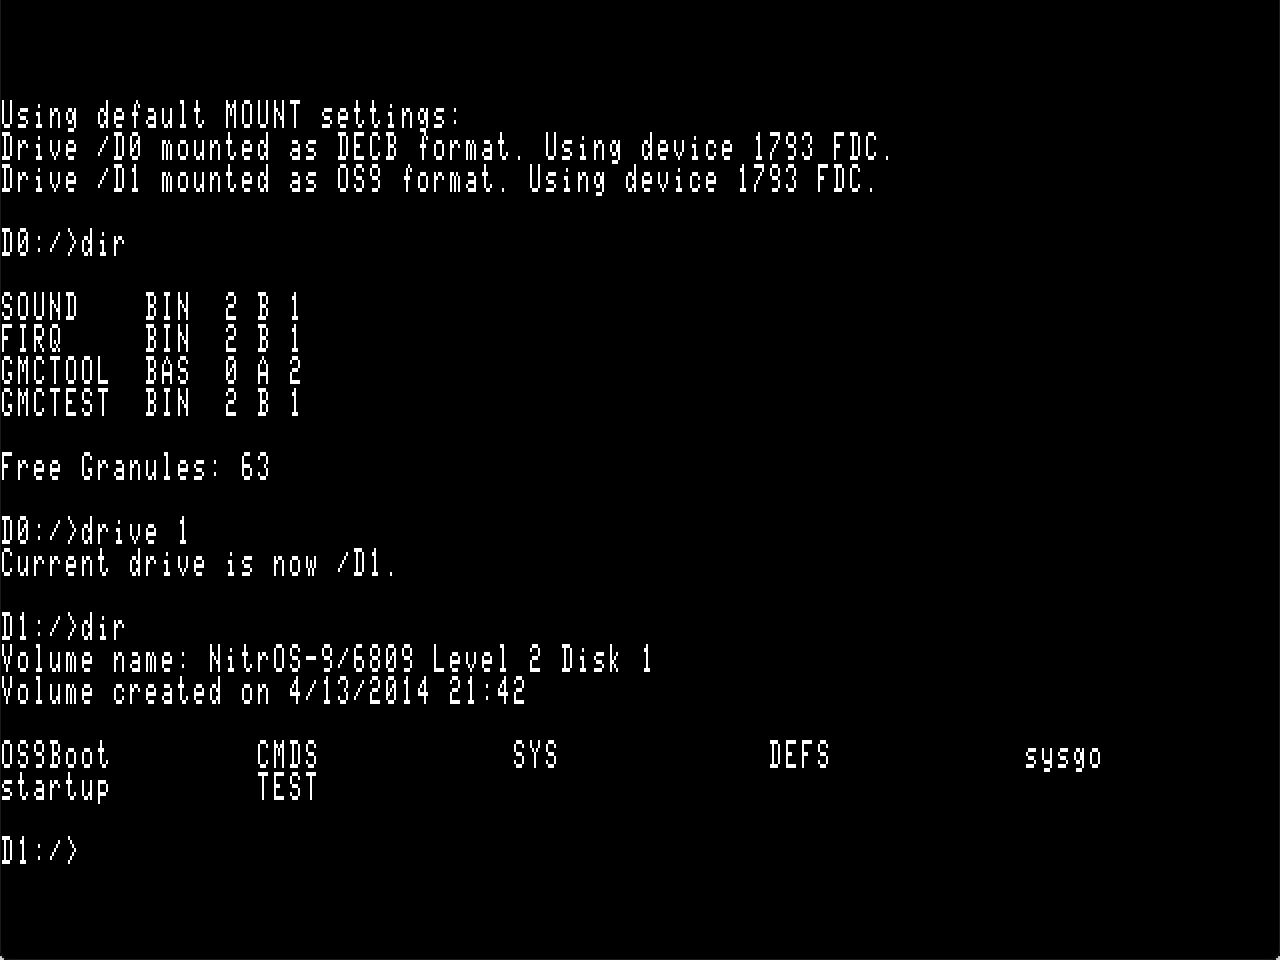
So I finally have a working chiptunes player for OS-9! “Chiptunes” are FM synthesizer-based song files often found in video games, etc. This player currently only supports the OPL sound chip inside the Mega-Mini MPI, but I plan to hopefully support more hardware like the GMC and the Speech Sound Pak in the future. Give it a try and feel free to let me know what you think or what additional sound chips you’d like me to support later on. Below is a link to a ZIP file containing disk images of my program in various forms, and a demo video of my showing it off on my system. The VHD is a hard drive image that also has many CCT and VGM song files to try. The DSK file is a 720KB image with just a few song tracks I could fit for those who don’t have hardware supporting large disk images. I encourage you to try your own VGM files too and let me know if any of them give you trouble. A HUGE thank you to everyone that helped me put this together.

Download Link: cctplayer.zip

SysInfo: My New Tool For CoCo 3 Hardware Detection

I had some inspiration the other day when a friend showed me a linux script called “Neofetch” that collects information about your system and then displays it in the terminal in a snazzy way. I thought it would be cool to be able to do something similar on the CoCo 3, and so I started looking into it. I know there have been other programs written that detect which version of GIME you have, or how much RAM is in the system, but I wanted to combine all those ideas into one program for fun. In addition, this tool I wrote also tries to figure out what Disk ROM variant you are using by doing a checksum on it. If it doesn’t recognize the value, it will just print the 3 byte checksum value in hex instead. I would love it to be able recognize as many ROMs as possible, so please send me an email with the unknown values it gives you and the type of ROM you are using so I can add it to the database for future versions. 🙂

I had tons of fun writing this and a huge thanks to everyone who helped me puzzle out how to implement this stuff, especially the people I mention in the credits of the program 😁 I’m sure there will be some bugs and auto-detection is a tricky process, so please let me know if it gets things wrong so I can try and correct it. Unfortunately for the time being, it is a CoCo 3 only program though I do have plans to support CoCo 1 and 2 in the future! You can watch a demo video of my program in action below. If you want to try it out for yourself, there will be a download link as well. Just extract the DSK image from the zip file, mount it (or write it to your favorite storage medium) and then type LOADM”SYSINFO” and EXEC it. (UPDATE: For the new version 1.2, use LOADM”SYSNFO12″ instead). Have fun!

Download Links:

Download SysInfo v1.0 (Original)
Download SysInfo v1.2

My Custom CoCo Keyboard Polling Routine (Initial Release)

Some people seemed interested in checking out the custom keyboard polling routines I wrote for the CoCo from scratch. It does not depend on BASIC in any way. It does depend on a little bit of code being put inside an interrupt. It’s a work in progress and not complete by any means, but maybe it will help someone 🙂 Feel free to reach out with questions or suggestions using my Contact Info!

Download Link: lorddragon_keyboard.asm

My Disk Utility Project for the Tandy Color Computer

So I thought I’d start documenting my CoCo programming projects on my website. (Inspired by Nick Marentes’s development blog of his cool upcoming game Gunstar). My main project is a disk utility that I am currently calling “RS09” (I may change it in the future). You may think “ANOTHER disk utility after all the ones made over the years?! Why?”. Well the main reason is because I’ve always been fascinated with disk formats and this project is the perfect way to learn all the ins and outs of CoCo hardware and 6809 assembly language.

Intro screen to my disk utility. Shows the default format/device for the drives.

The other reason is because this utility will support devices both old and new, physical floppy drives to CocoSDC, and it will support both DECB formatted disks and OS9 formatted ones. You’ll be able to copy files directly from one format to another, whether they are on an actual 5.25 inch floppy disk or a DSK image on the CocoSDC. There is an awesome tool that does the same kind of thing (and more) called MShell by Bill Pierce complete with a fancy GUI, but it requires you to be running OS9. My utility is completely STANDALONE. Everything is completely custom and written from scratch that talks directly to all the hardware. It doesn’t even use BASIC calls for things like keyboard. It uses a command-line oriented interface that will be customizable at some point. I originally started writing the code in C and compiling it with CMOC developed by Pierre Sarrazin, but as I got closer and closer to the hardware, it got more and more difficult. So I started re-writing everything I had so far in pure 6809 assembly. The CoCo development community has been a huge part of my endeavors, answering my endless questions about 6809 ASM and giving all kinds of great advice. They will all be getting a HUGE thank you in my credits when I finish the program. Anyways, here is a snapshot of my progress so far:

Here you can see both disk formats in action at the same time.

So far, in terms of functionality, I have directory listing, changing directories on OS9 disks, and various commands for controlling which disk format a drive number should use and which device to use for each. I’m currently working on the file copy part. I did a short demo video of this in action if you want to check it out. Thanks for reading. 🙂

Quick demo of my program accessing various disk hardware devices. Also, my accent is Boston as hell. LOL.

Solar Charge Controller Upgrade

Since I added the second solar panel, it has opened up the door to more efficient output and less loss from my 55 foot wire run into the house. In order to maximize the output from my now TWO panels, I needed an MPPT controller which would allow me to put my panels in series, instead of parallel. Here is a short video showing it to you. Will post some numbers when we get a really sunny day next to see how much better it is.

Weather Station Display Upgrade

So, my weather station mostly worked great, except that I would occasionally lose the outdoor sensor signal. Then it would be a few hours before it found it again. I don’t know if my sensor is just a little too far away or what. I did some searching and found they sell another compatible display model that actually has a full LCD screen. More importantly, it features an EXTERNAL antenna. So I upgraded to this:

As you can see, the display is beautiful and has 3 info screens. Outdoor info, Indoor info, and then Records. This unit can store up to a year of data its collected. Since it has a real LCD screen, you can even display graphs of rainfall or windspeed etc. I get a perfect reliable signal now. The only negative is that there is no battery backup. Which means if the unit loses power for too long, you will lose your data and have to start over from scratch. So seeing as I have a 12v solar setup for my Ham Radio stuff, I thought, why not run it off of that. So I chopped up the power adapter for my weather station and wired this DC regulator in.

It takes 12v DC in and puts out 5v DC which is what my weather station uses. I was worried the weather station might use alot of power and drain my battery, but after some measurements, it only needs 0.13 amps at 12v DC to run. Thats not much at all and shouldnt be a burden on my system.

Lots of amps!

Sun came out for a few mins this morning and look at that output! 10.4 amps, 150 watts!! Getting that second panel was a good choice. Glad I went with 10 gauge wiring too. Brings a tear to the eye to see so much power coming in!

How much sun do my panels get?

This is a short timelapse video illustrating of how much sun I can get with solar panels that stay on the ground in the city. Obviously, the spring and summer months are excellent because the sun is so high in the sky, but you can see the morning and late afternoon, some obstructions come into play. Also I make a cameo putting away the garbage bins. LOL.

Solar System Upgrade

After a long winter, we are finally well into spring and the Sun is out often again! Now that bad news. Something happened to my 12v AGM batteries over the winter. I dunno if it was the lack of charging everyday or just poor quality batteries, but both of them died. They wouldn’t hold a charge. As soon I’d put a charger on them, the voltage would shoot up like they were full and after only an hour, it would say they were fully charged. When I put a load on them, the voltage would drop quickly and within an hour be down to 10 Volts. So I had to junk them. I won’t be buying APEX batteries anymore. I replaced it with this one, from Renogy, the same company I get my solar equipment from. Sadly, these things are expensive so I could only afford one.

New AGM Battery


So onto the solar upgrade. 100 Watts was nice, but I always felt it wasnt quite enough for my needs. Now with only a single battery to get me through cloudy and rainy weather, I decided I wanted to add a second panel. This presented some challenges. My single panel was sort of frankensteined with my old harbor freight solar panel frame made out of PVC and the year wasnt kind to it. Between baking in the sun and neighborhood kids climbing on it like a jungle gym, the frame was broken in several places and taped up with duct tape. Besides, it was too small to fit a second panel. So I decided a needed a new frame. I considered building my own out of PVC, but my buddy Steve brought my attention to an aluminum metal solar stand. The only catch was its meant for a single panel. Each “leg” attaches to one side of the panel. So I had the idea of bonding my two panels together with metal plates to use with the stand. I was unsure of how secure it would be, but it’s quite secure. Below you will see how I set it up and bolted the panels together.

And finally the finished result. Introducing my dual panel 2×100 Watts setup with a peak of 200 Watts! They are connected in parallel, positive to positive, negative to negative with some adapters I bought with the second panel.


Since I JUST finished setting up and my battery is already fully charged, I will get back to you all on how much output I get from the two of them. I’m pretty happy with the result!

My AcuRite Home Weather Station Install

So I’ve been interested in measuring weather conditions for several years now, ever since I got a small Radio Shack outdoor wireless thermometer back in the day. Over the years, I’ve been upgrading them adding a few features each time. This is my latest version. The AcuRite 5 in 1 Professional Weather Center.

There are several variants of this weather station with different sensor and display unit options. The one I have is the Model 02064C. It includes mounting hardware, the outdoor sensor assembly and the indoor display unit.

The 5 in 1 Sensor measures outdoor Temperature, Humidity, Wind Speed, Wind Direction, and Rainfall. The Indoor Unit measures indoor Temperature, Humidity, and Barometric Pressure, and displays all the info together. It also can calculate Wind Chill, Heat Index, and stuff like that. On the bottom is a text display that cycles through various information such as moon phase, high temp of the day, etc.

For mounting the outdoor sensor, the manual recommends an open area free of obstructions and at least 5 feet off the ground. Ideally it should be above any buildings and such. But I live in the city so the best I could do is along the backyard fence. I used an existing pole that was cemented into the ground for an old satellite dish as a base, and strapped on a 10 foot steel pipe that would fit the sensor mounting hole using wireties and bungie cords. I’ll add some clamps later. Here’s what it looks like mounted outside.

And finally, the indoor display unit all setup and synced to the outdoor sensor.

Finally, here’s a short video of a walkaround of the outdoor install. Seems to be working well so far!