Solar System Upgrade
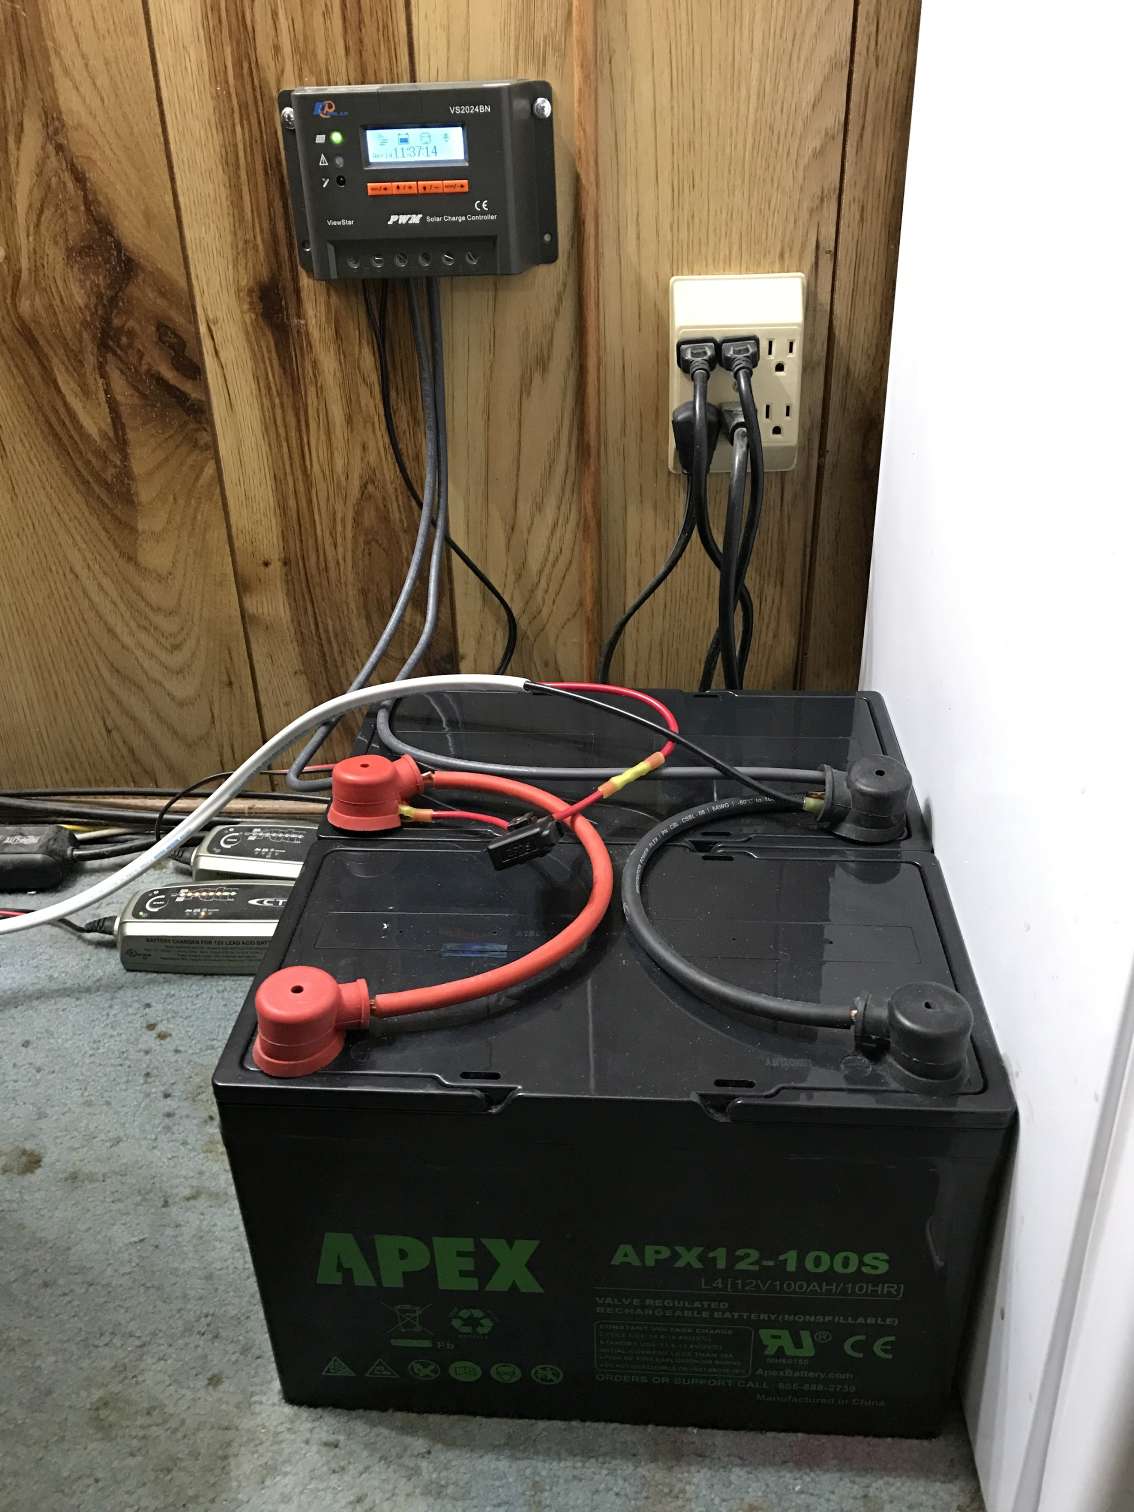
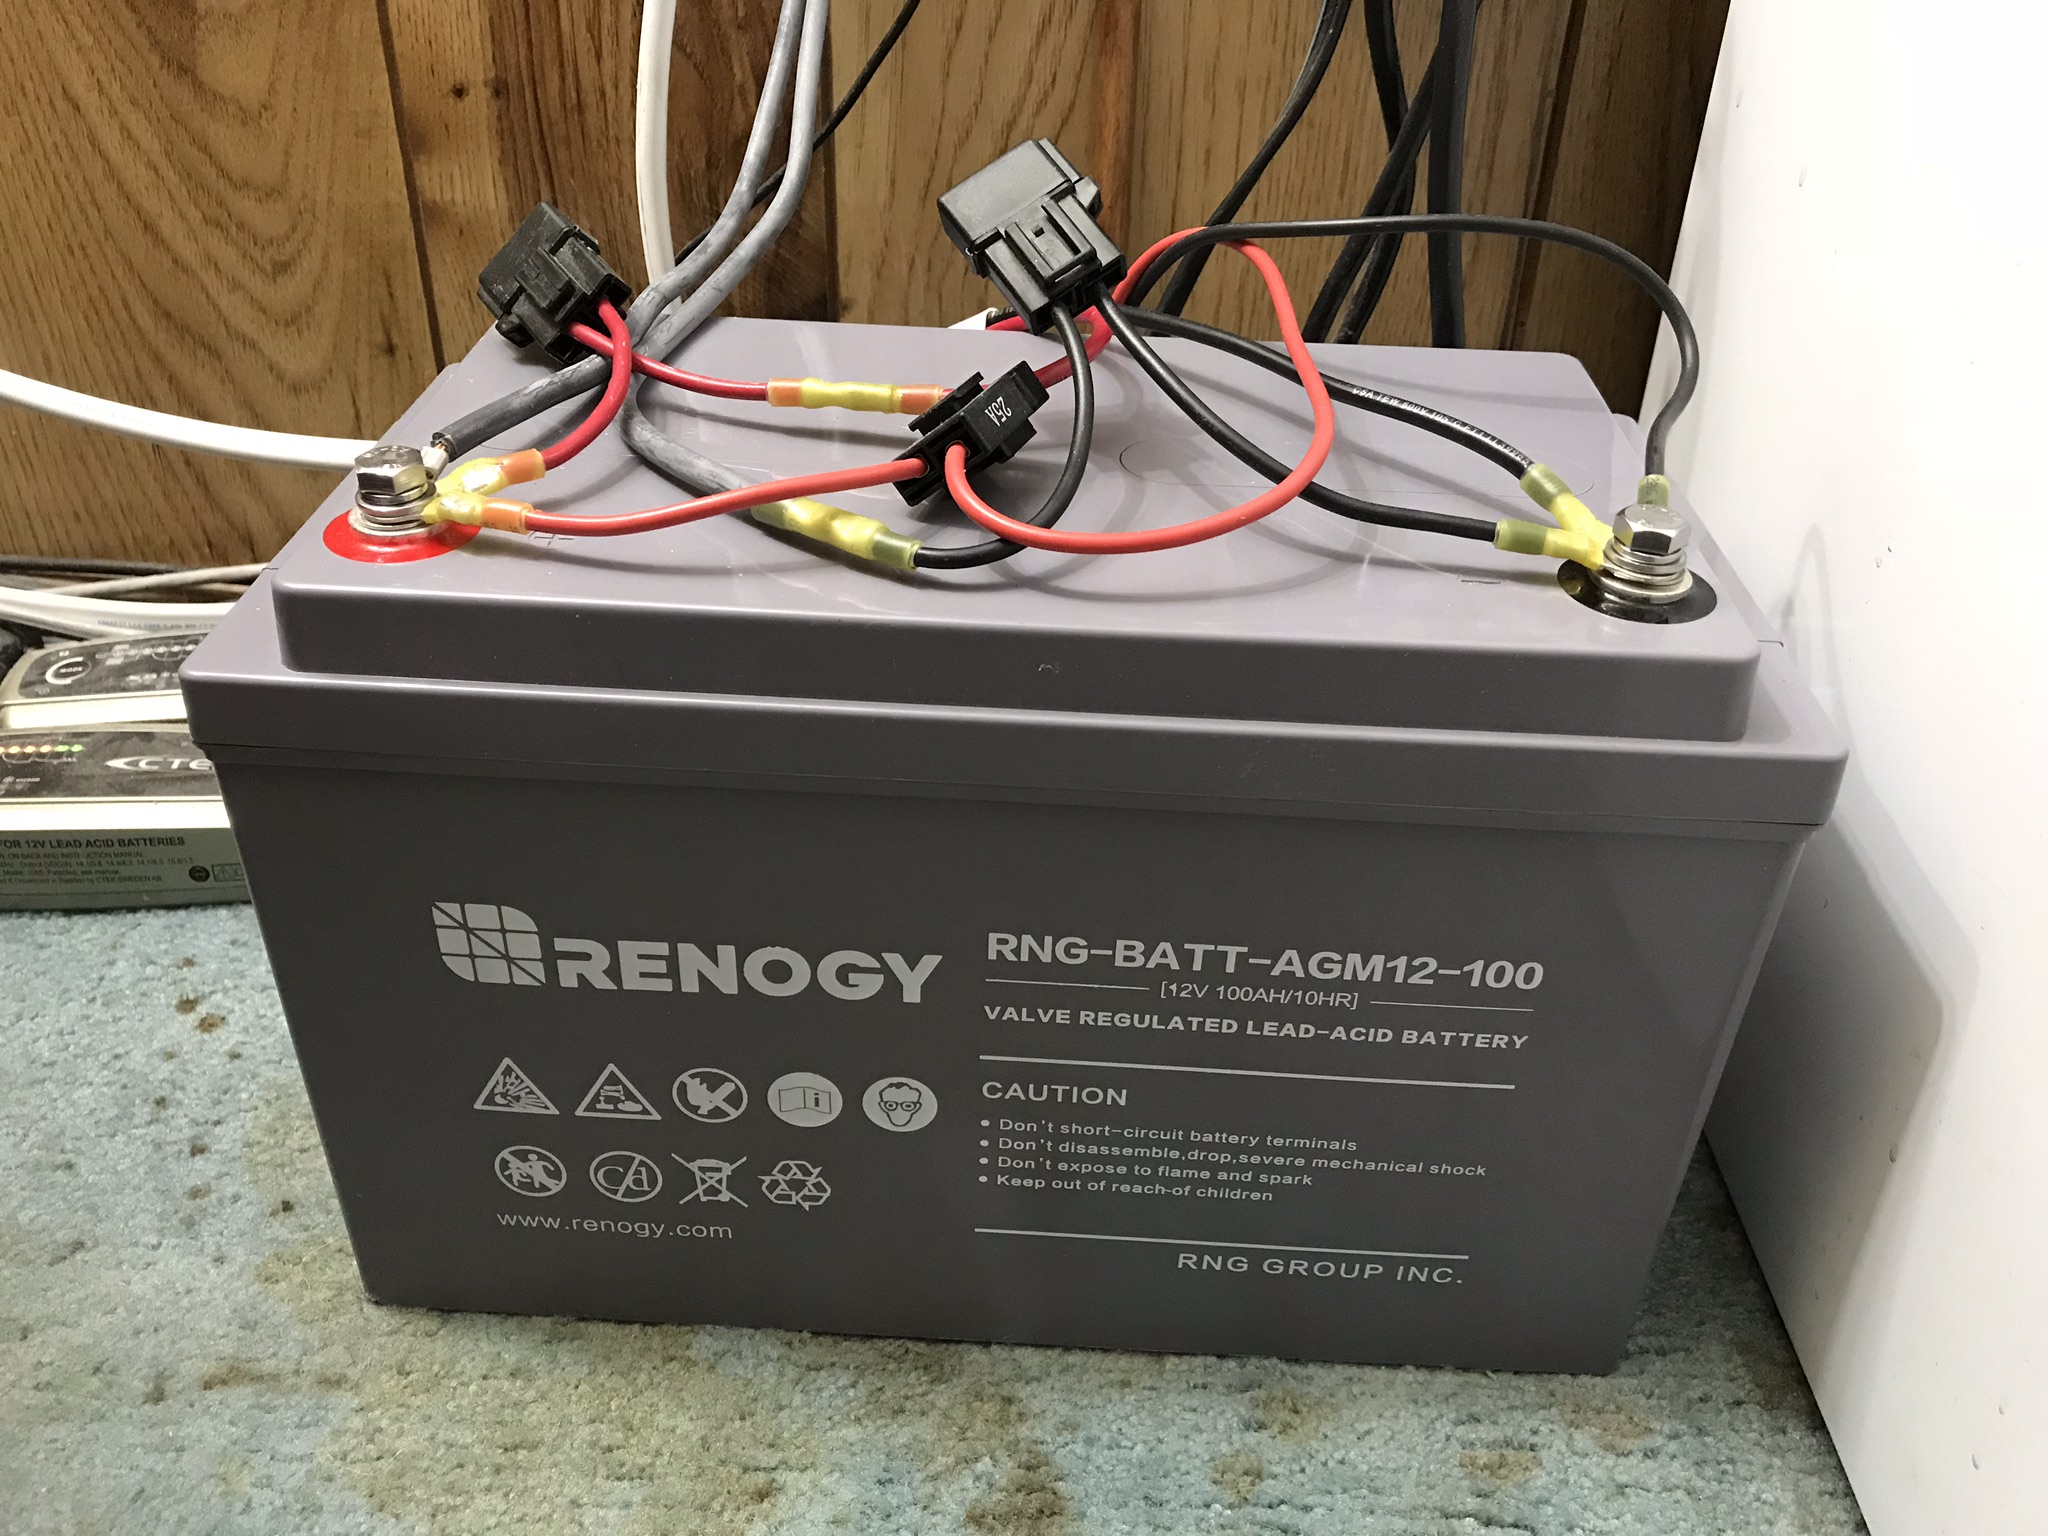
After a long winter, we are finally well into spring and the Sun is out often again! Now that bad news. Something happened to my 12v AGM batteries over the winter. I dunno if it was the lack of charging everyday or just poor quality batteries, but both of them died. They wouldn’t hold a charge. As soon I’d put a charger on them, the voltage would shoot up like they were full and after only an hour, it would say they were fully charged. When I put a load on them, the voltage would drop quickly and within an hour be down to 10 Volts. So I had to junk them. I won’t be buying APEX batteries anymore. I replaced it with this one, from Renogy, the same company I get my solar equipment from. Sadly, these things are expensive so I could only afford one.
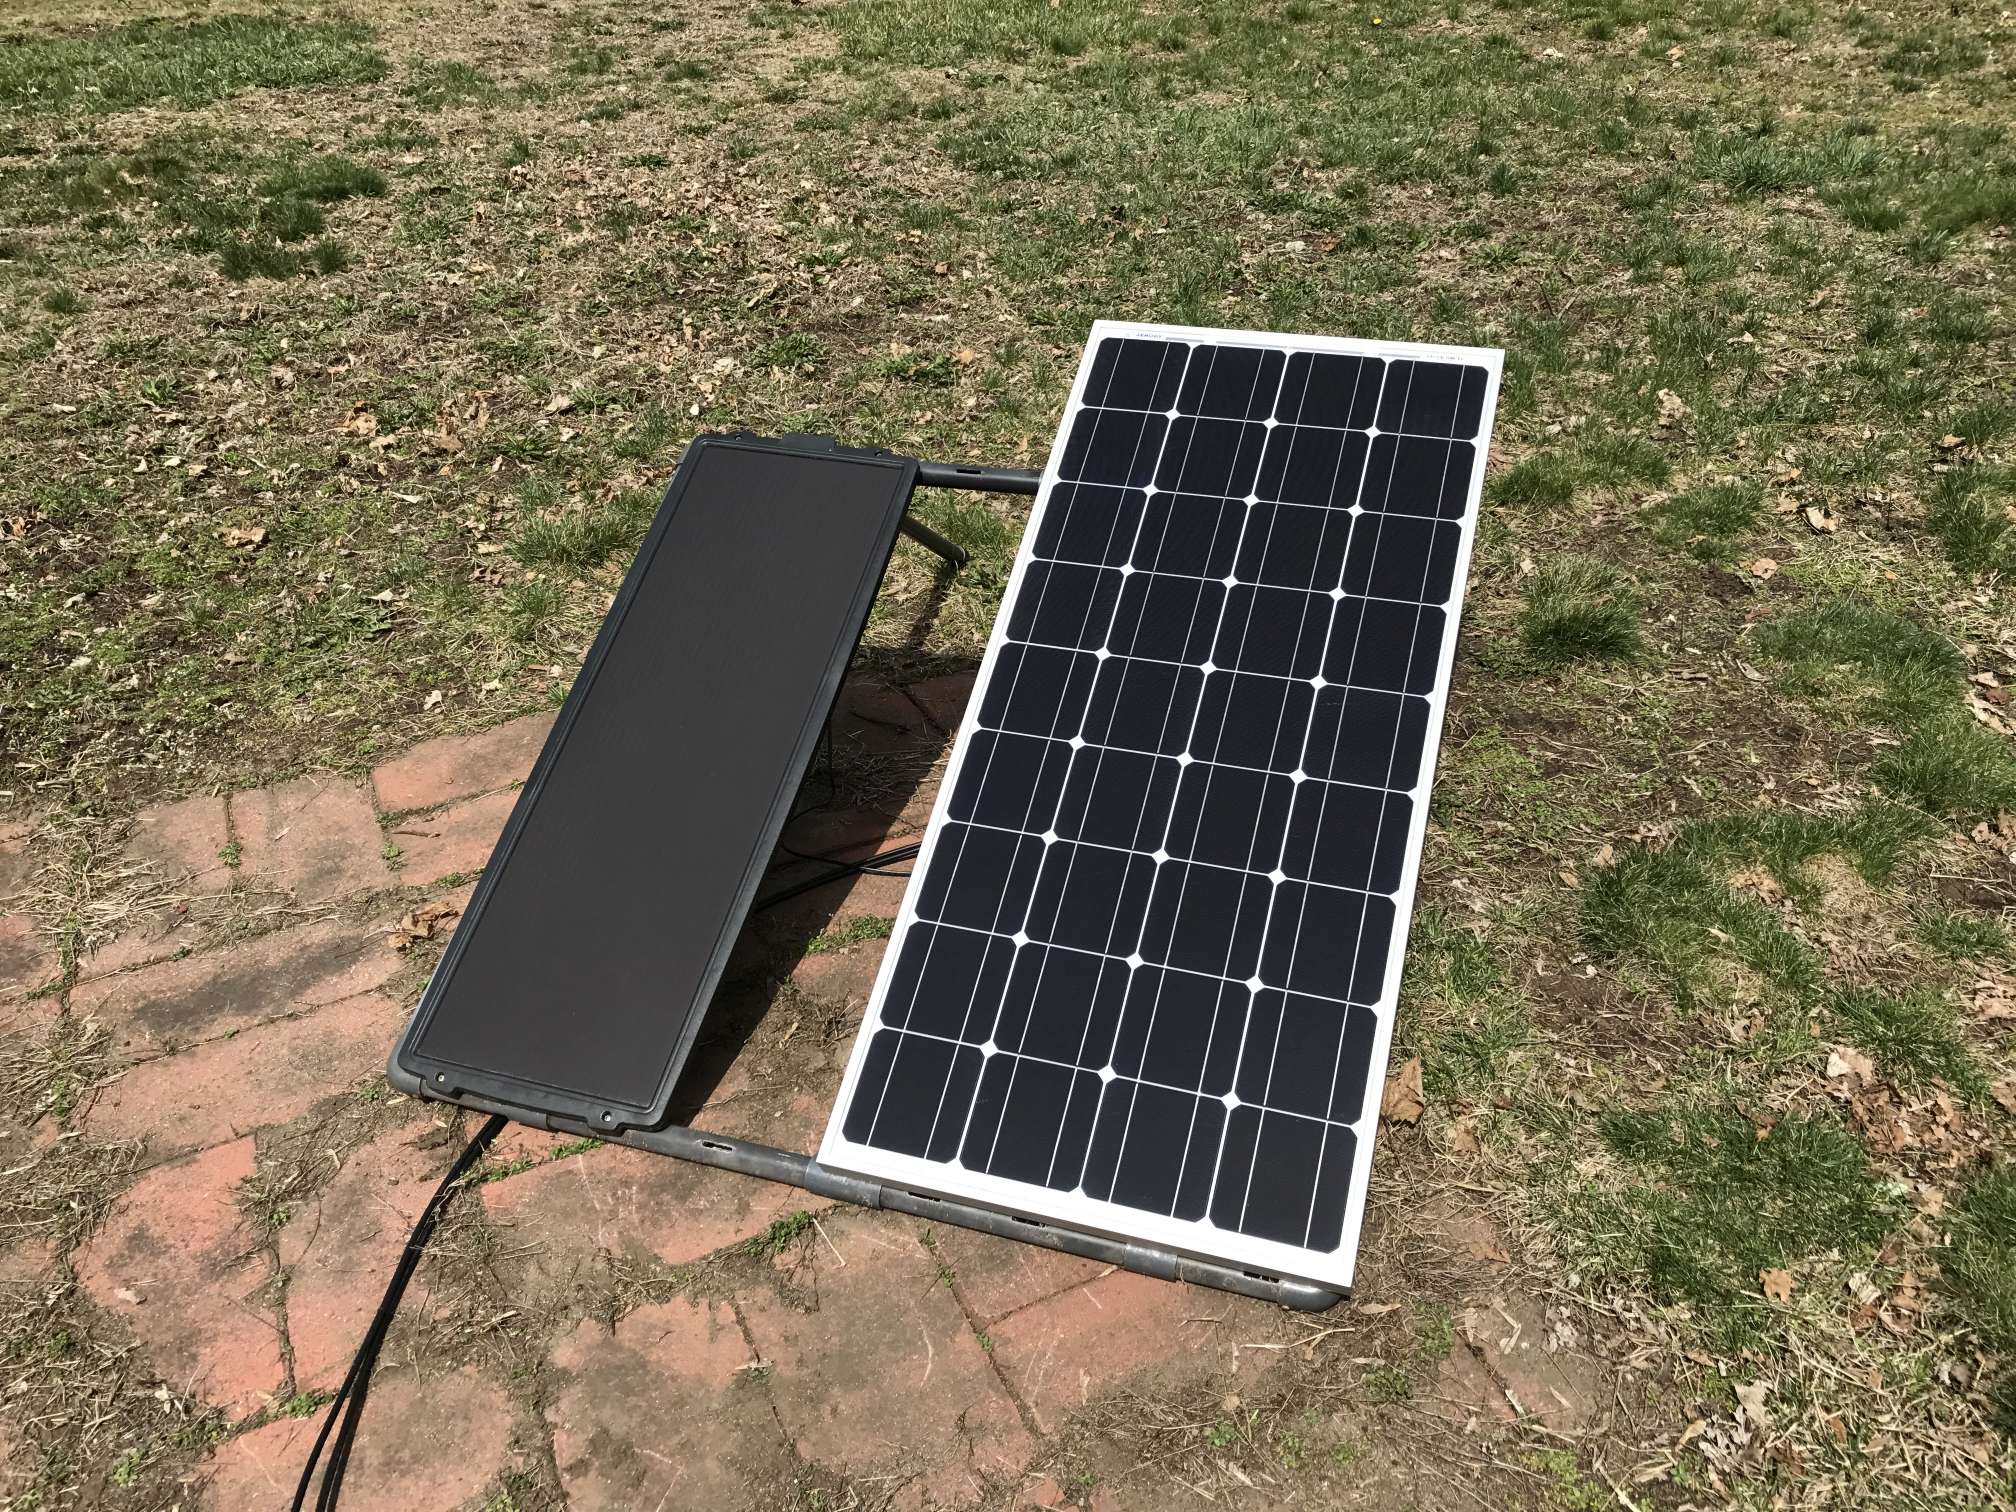
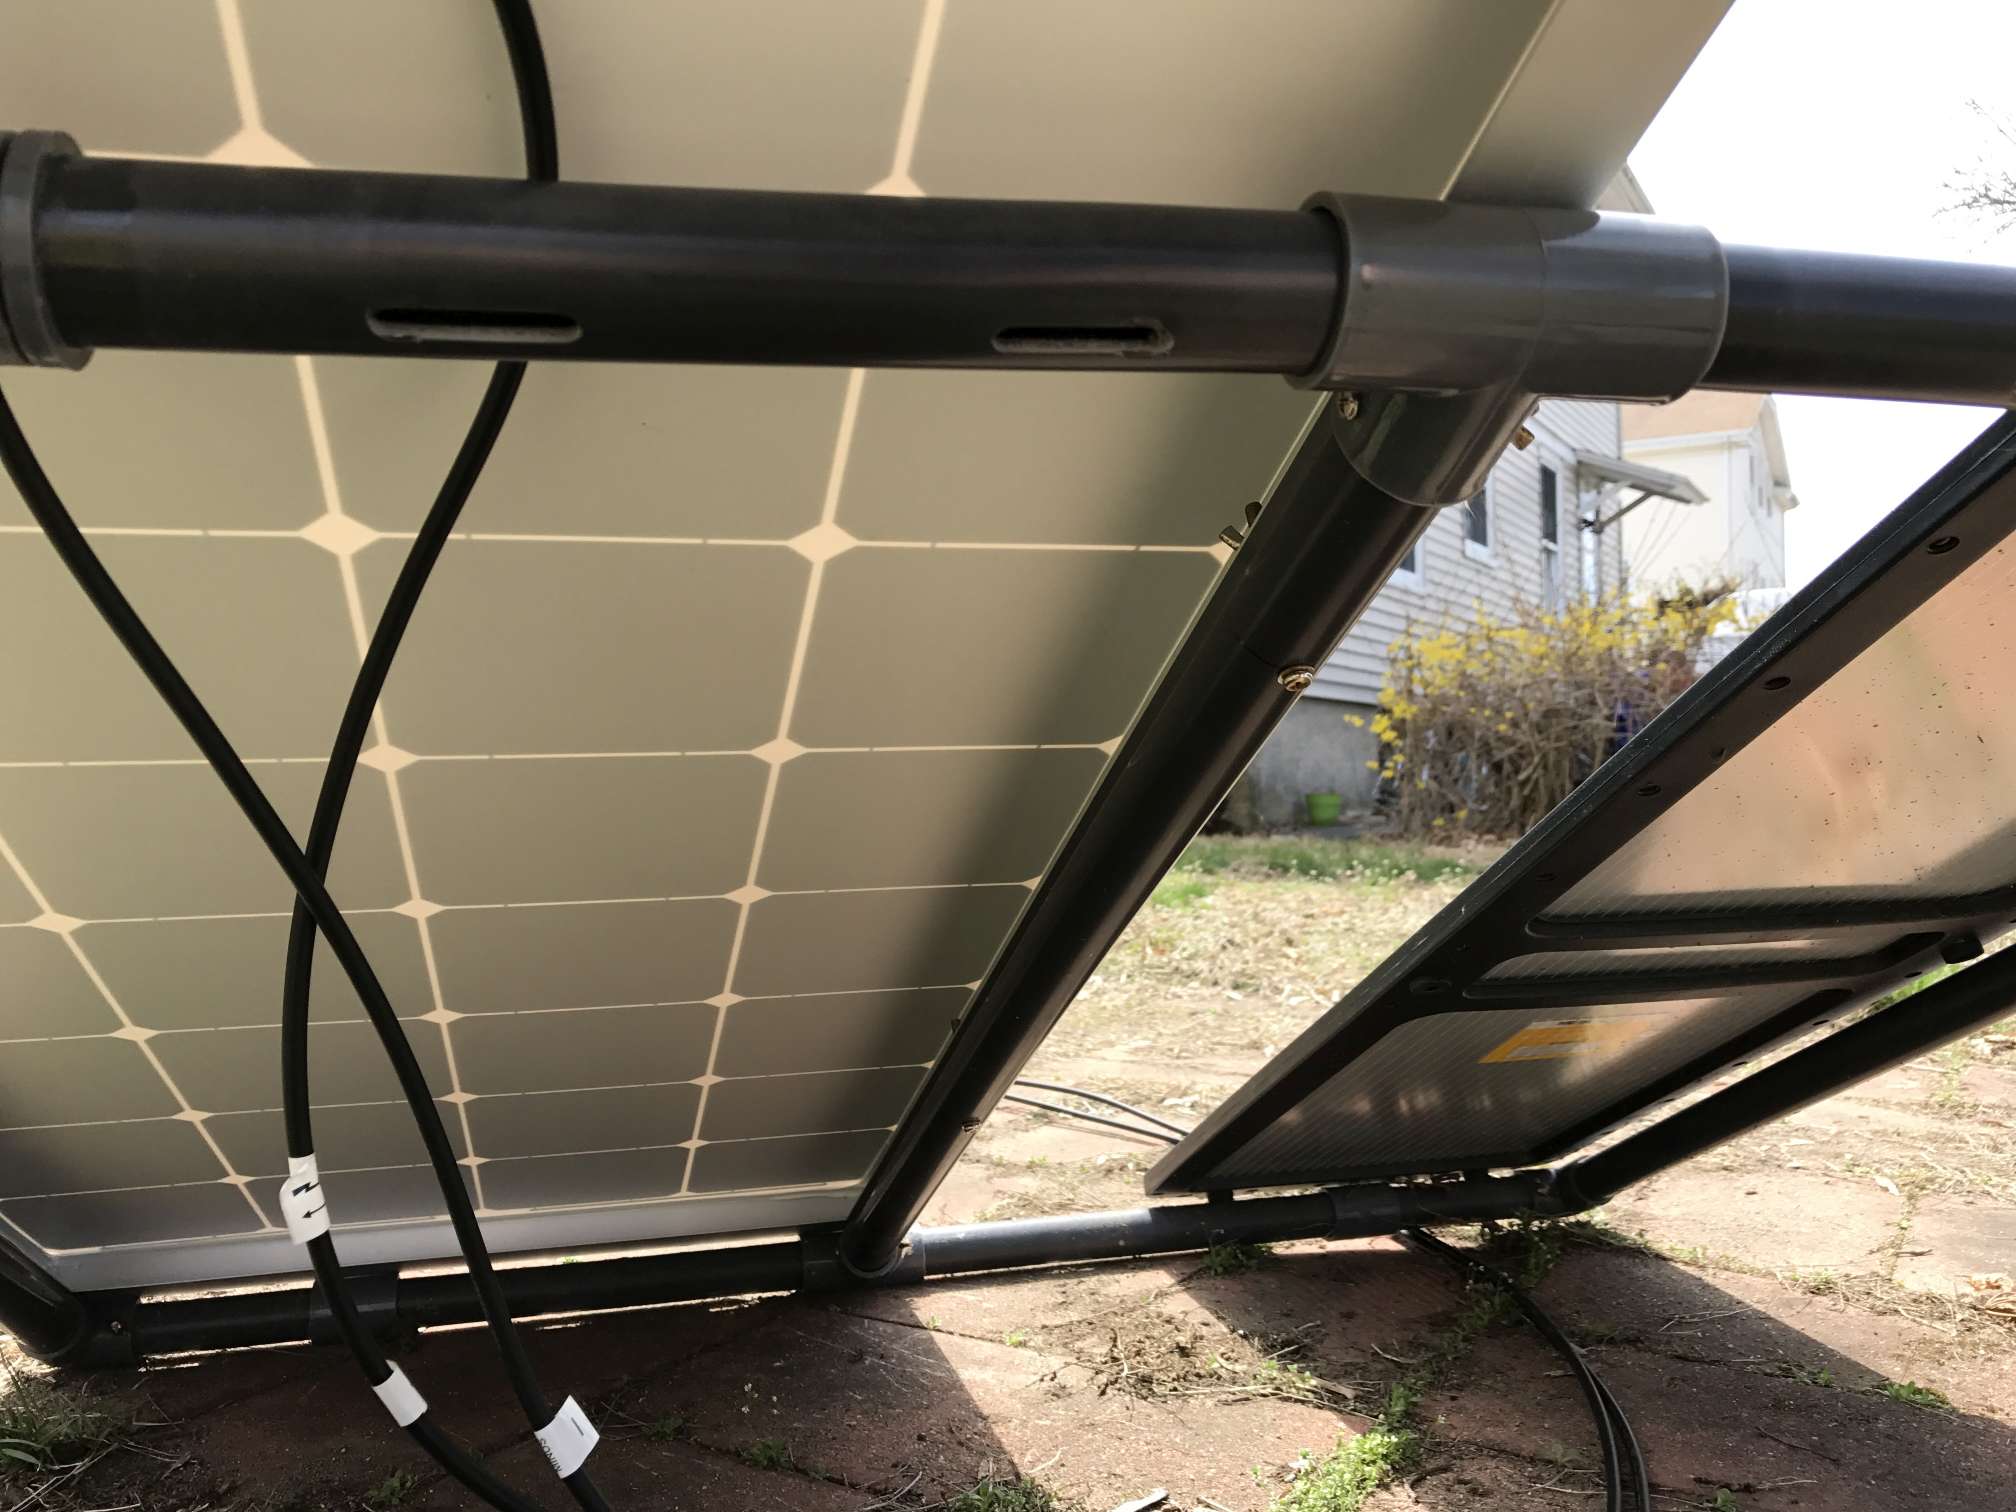
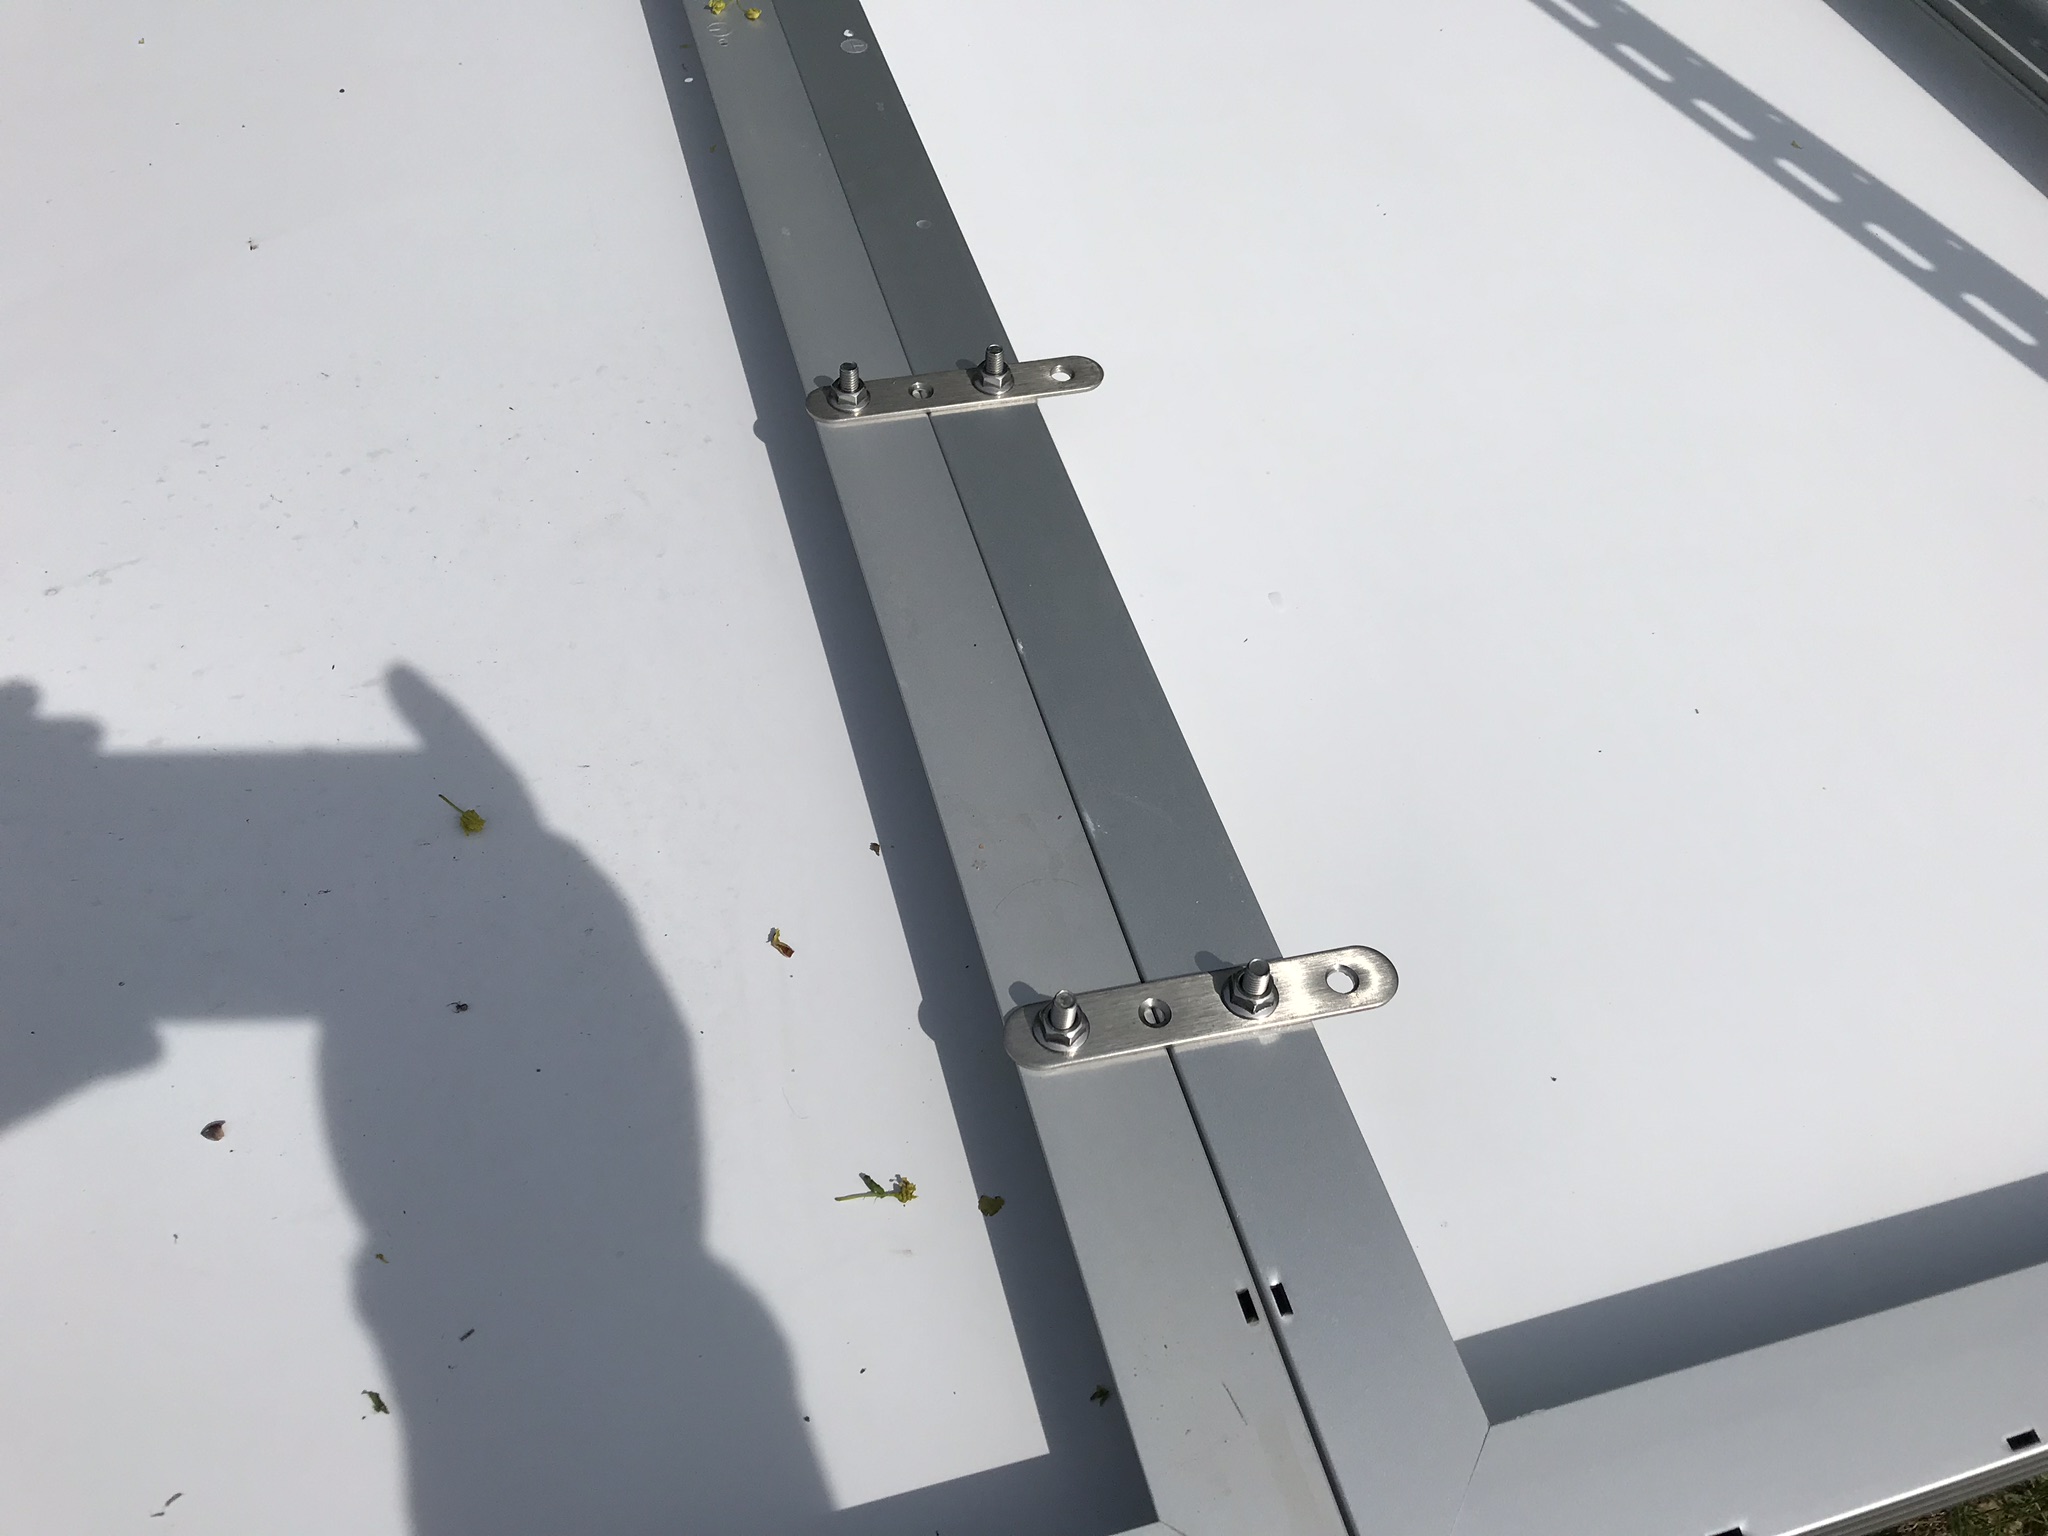
So onto the solar upgrade. 100 Watts was nice, but I always felt it wasnt quite enough for my needs. Now with only a single battery to get me through cloudy and rainy weather, I decided I wanted to add a second panel. This presented some challenges. My single panel was sort of frankensteined with my old harbor freight solar panel frame made out of PVC and the year wasnt kind to it. Between baking in the sun and neighborhood kids climbing on it like a jungle gym, the frame was broken in several places and taped up with duct tape. Besides, it was too small to fit a second panel. So I decided a needed a new frame. I considered building my own out of PVC, but my buddy Steve brought my attention to an aluminum metal solar stand. The only catch was its meant for a single panel. Each “leg” attaches to one side of the panel. So I had the idea of bonding my two panels together with metal plates to use with the stand. I was unsure of how secure it would be, but it’s quite secure. Below you will see how I set it up and bolted the panels together.
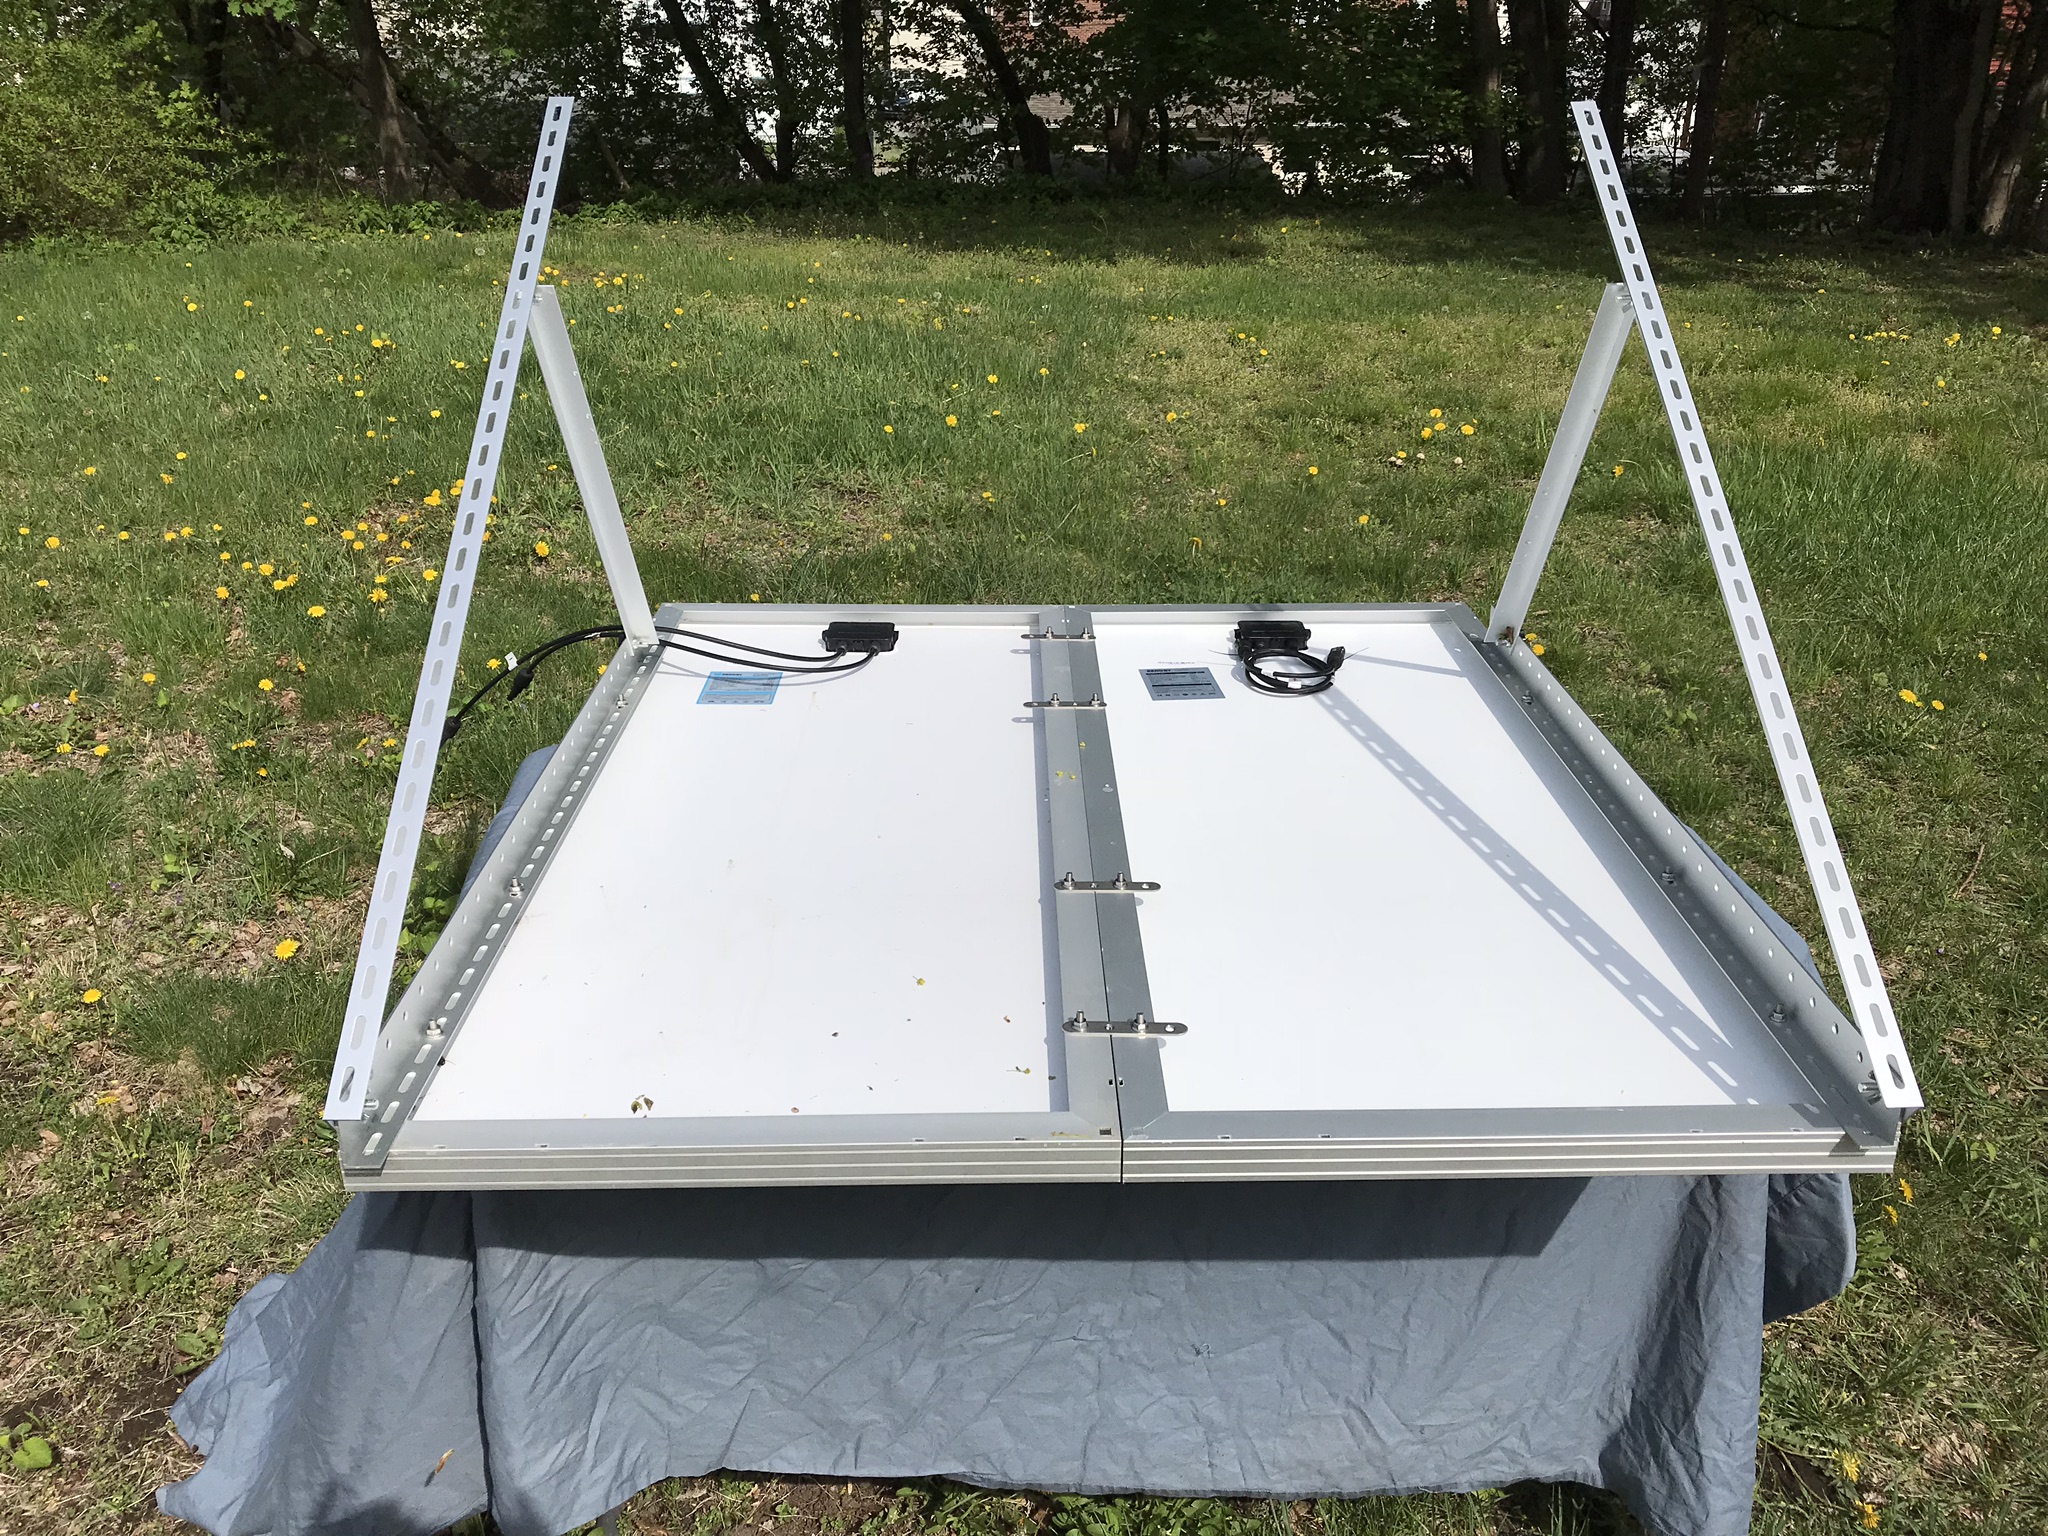
And finally the finished result. Introducing my dual panel 2×100 Watts setup with a peak of 200 Watts! They are connected in parallel, positive to positive, negative to negative with some adapters I bought with the second panel.
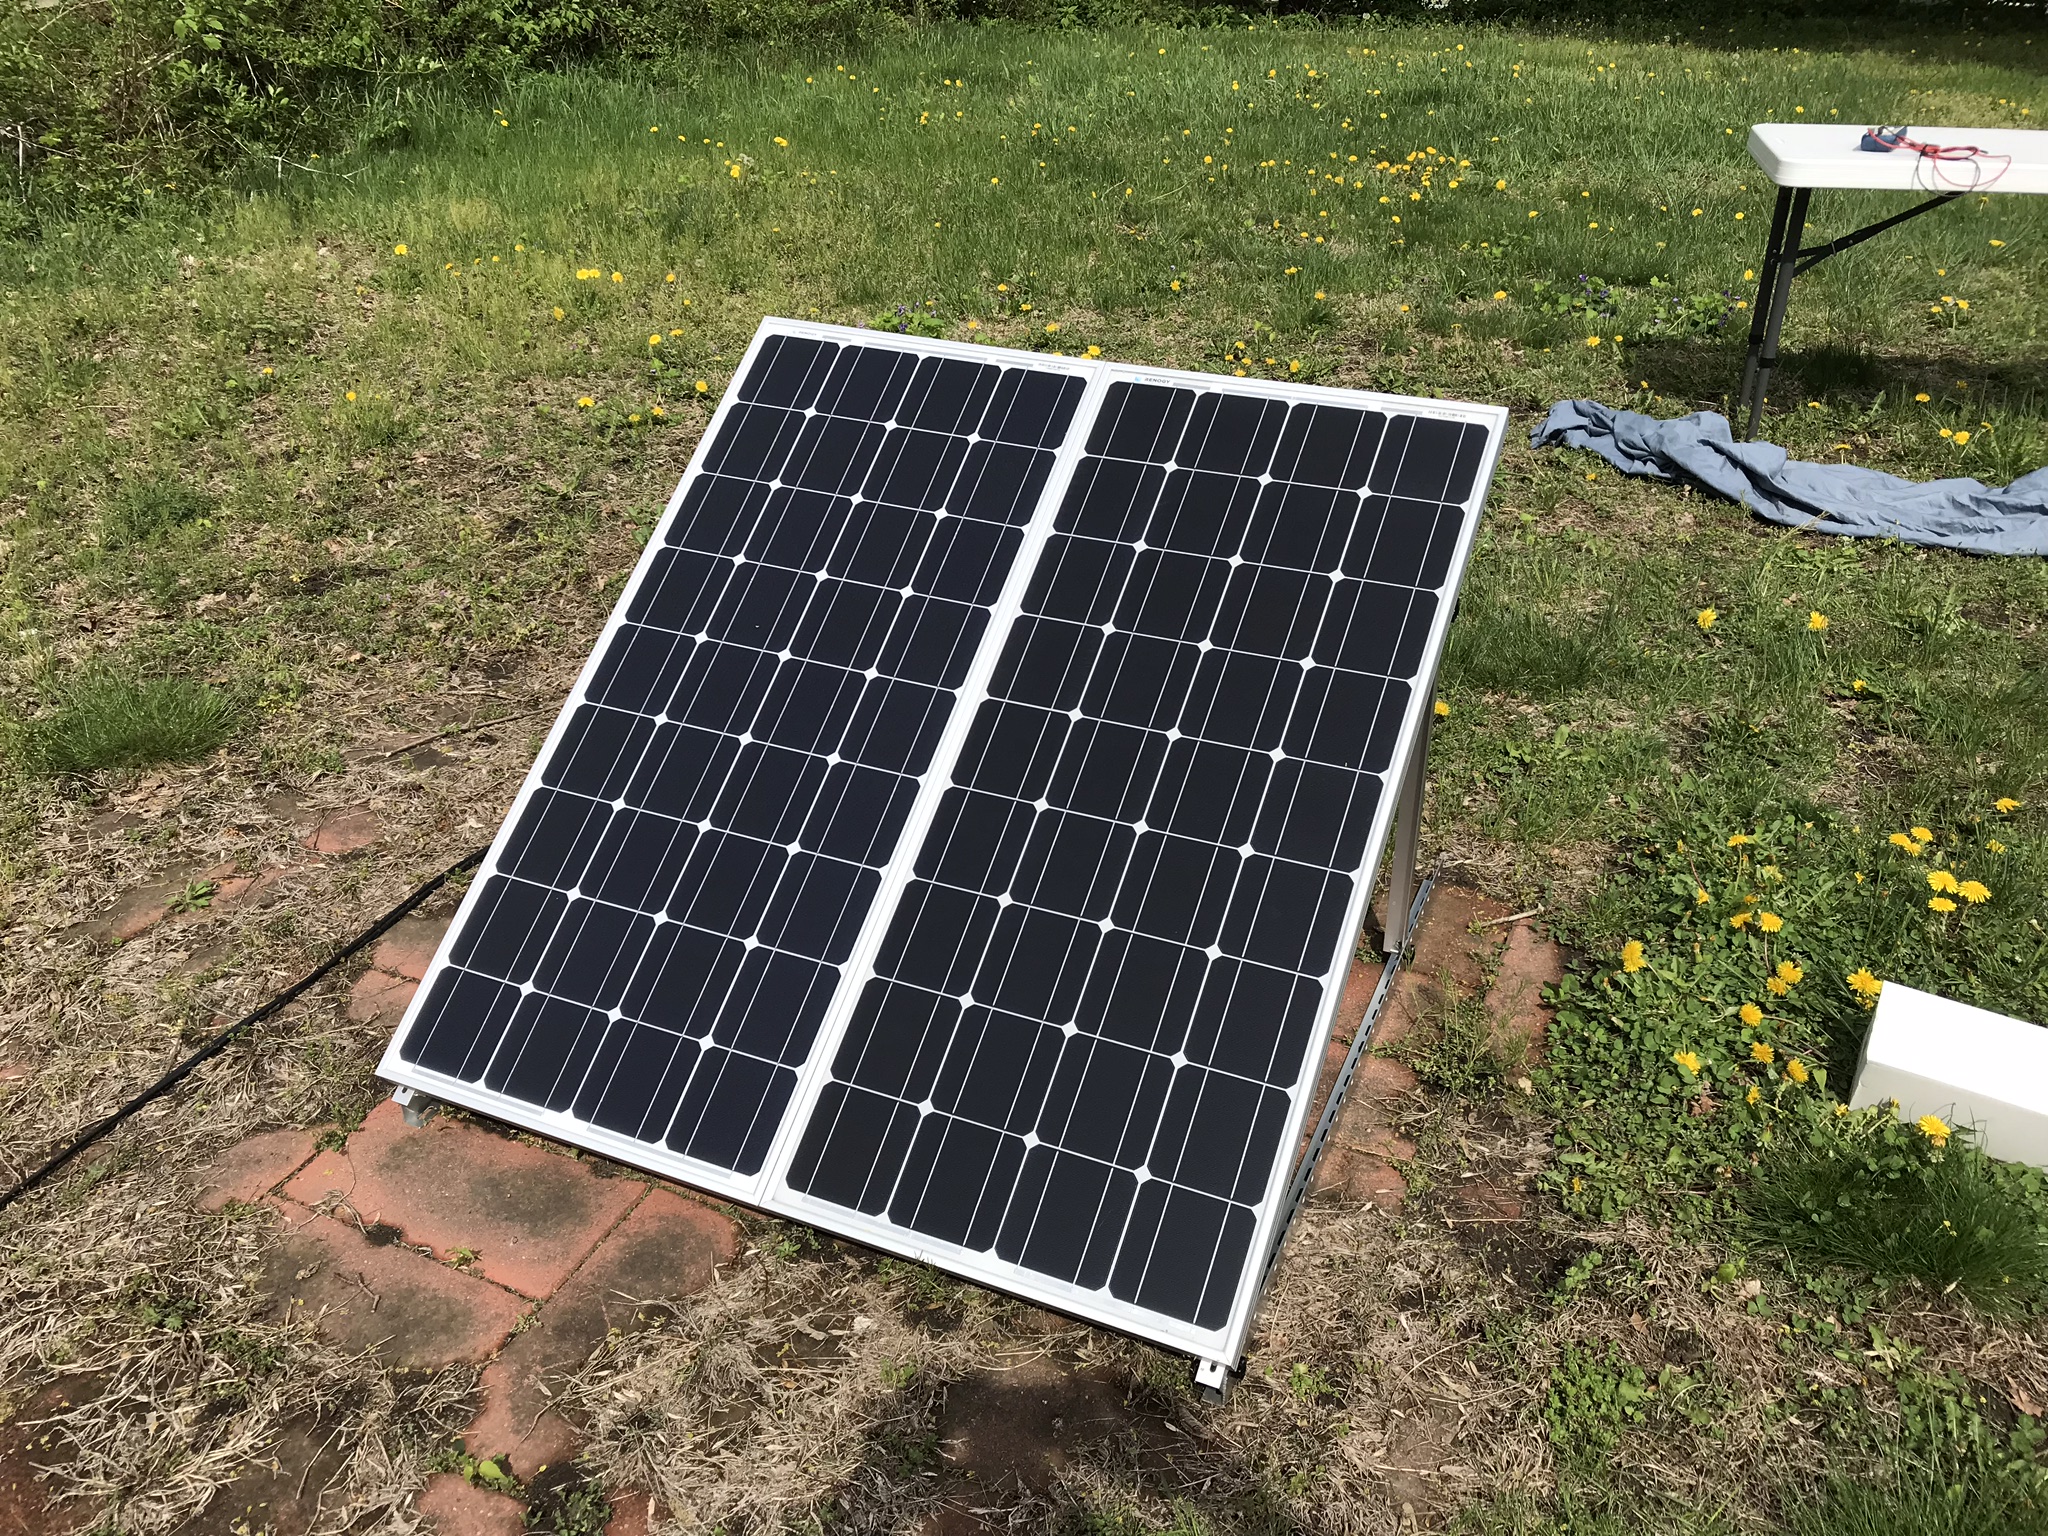
Since I JUST finished setting up and my battery is already fully charged, I will get back to you all on how much output I get from the two of them. I’m pretty happy with the result!
Solar System Upgrade Read More »